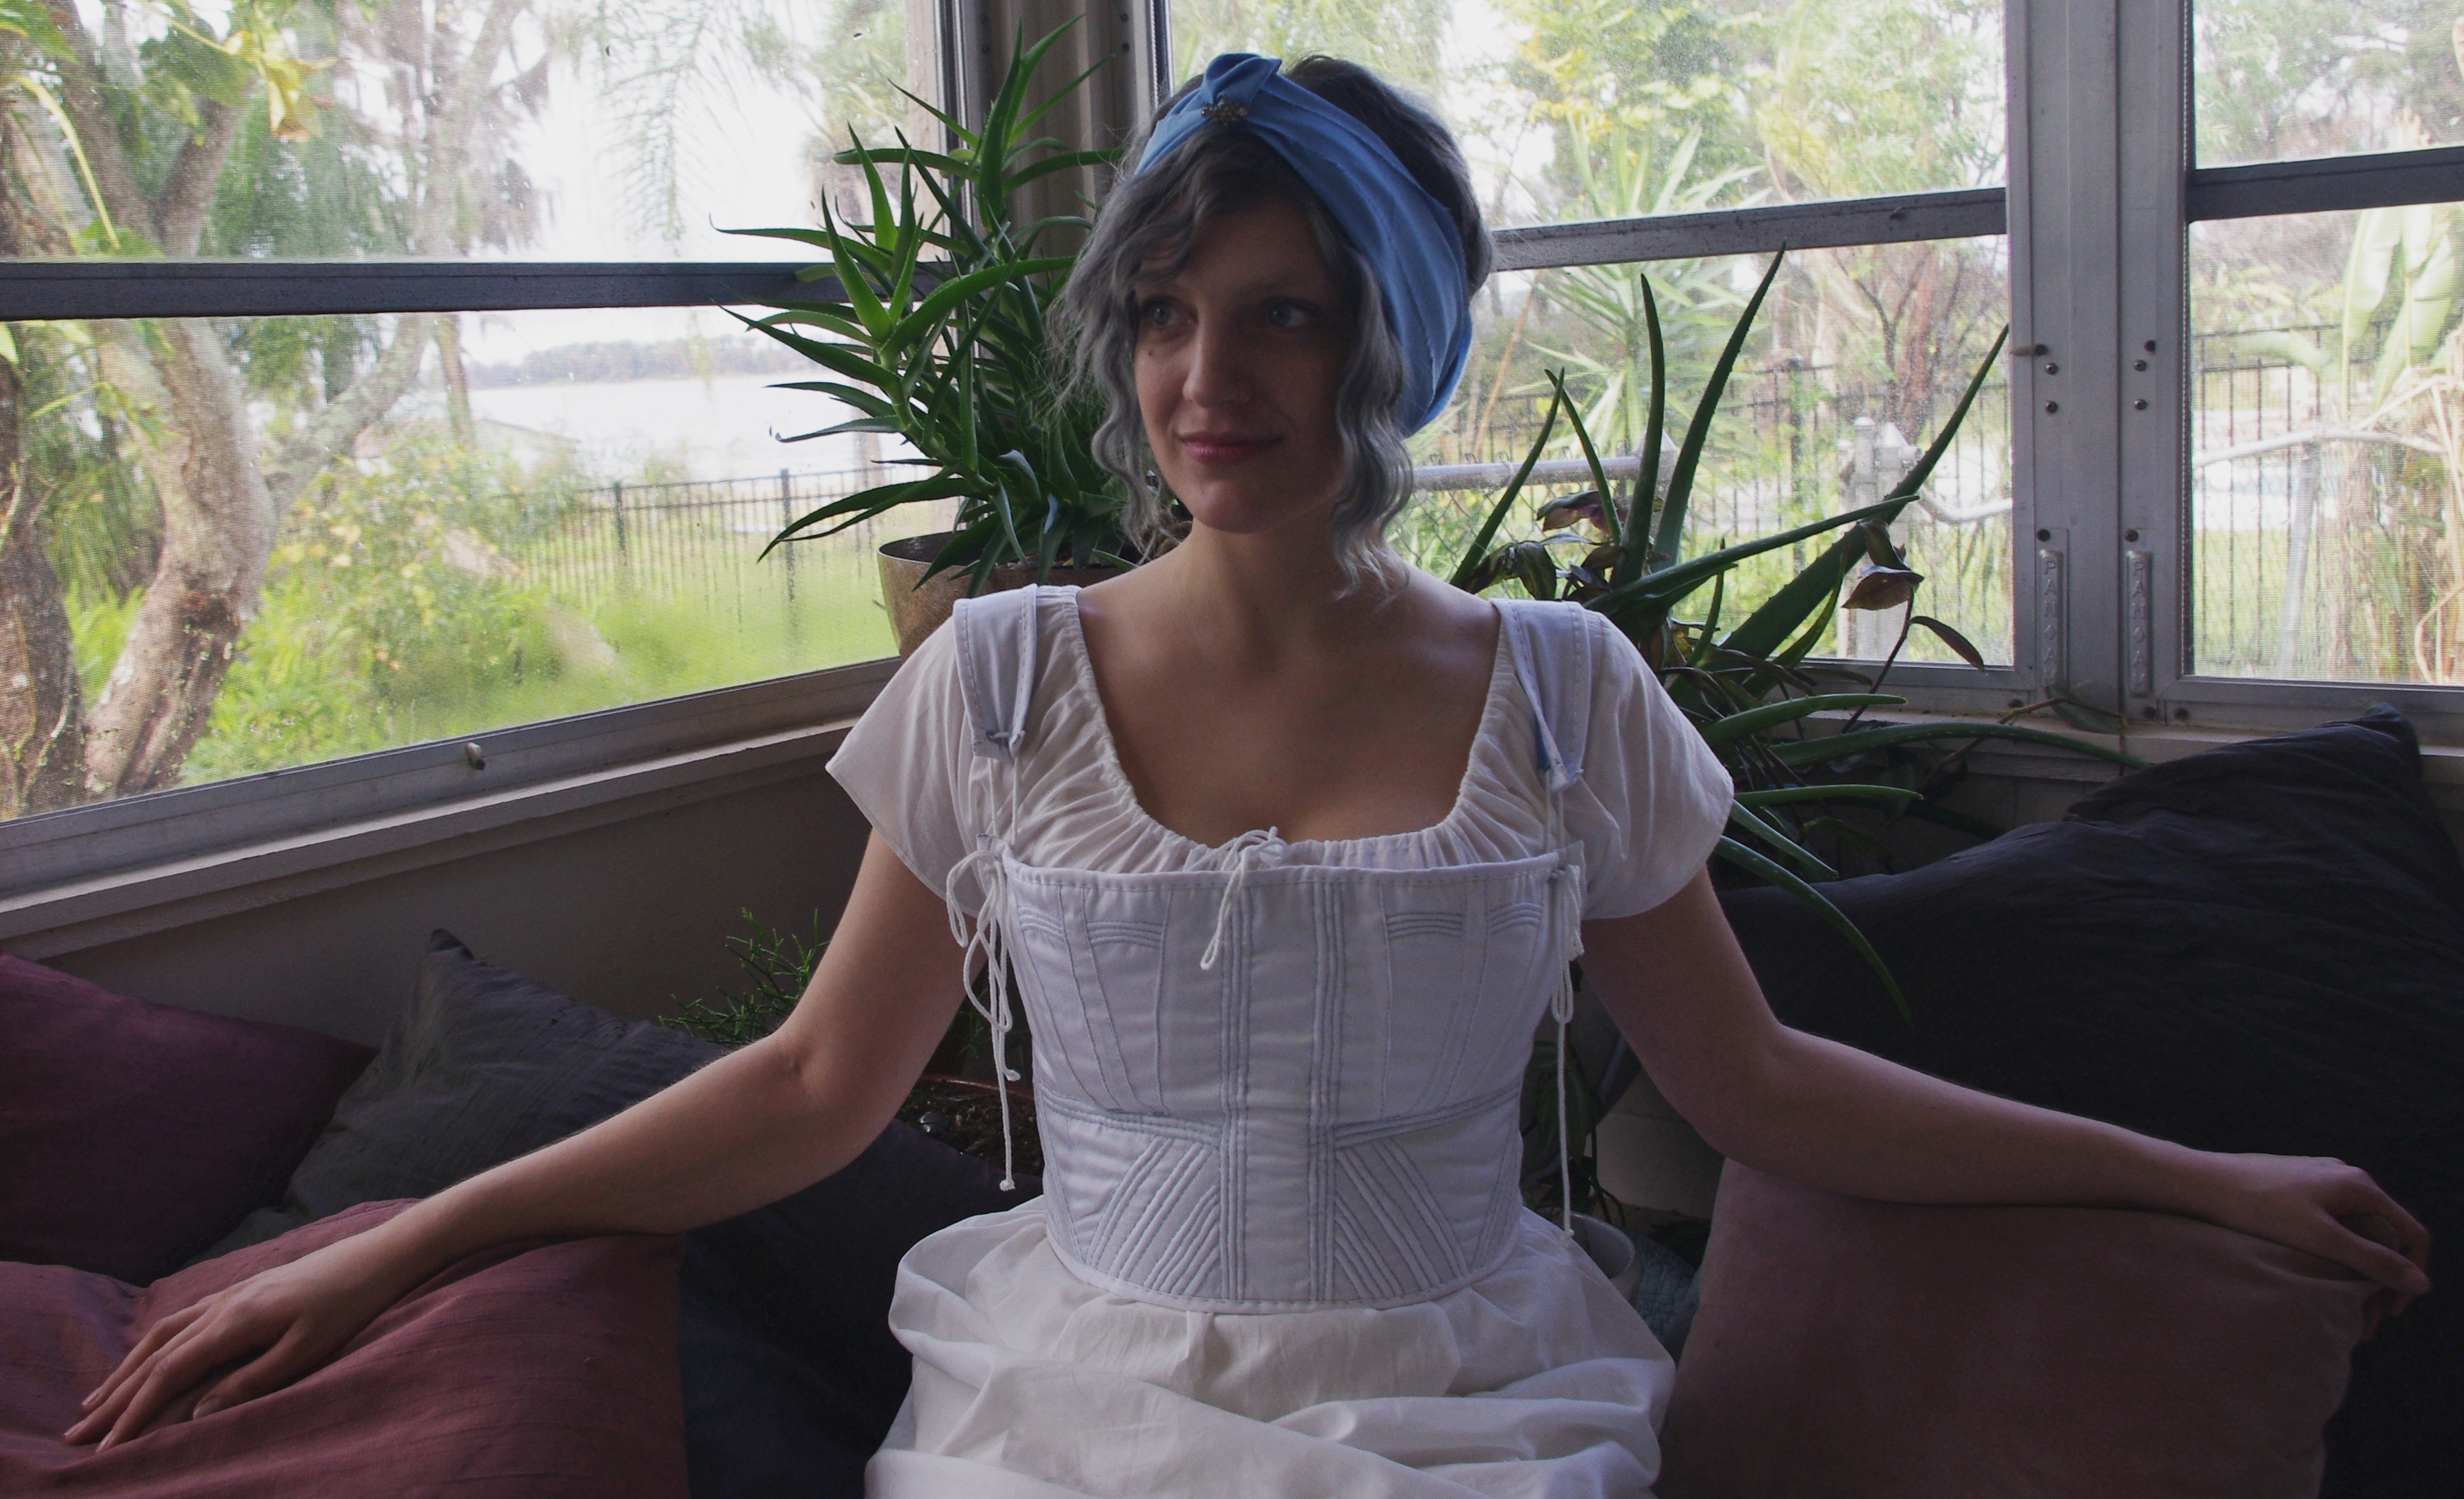
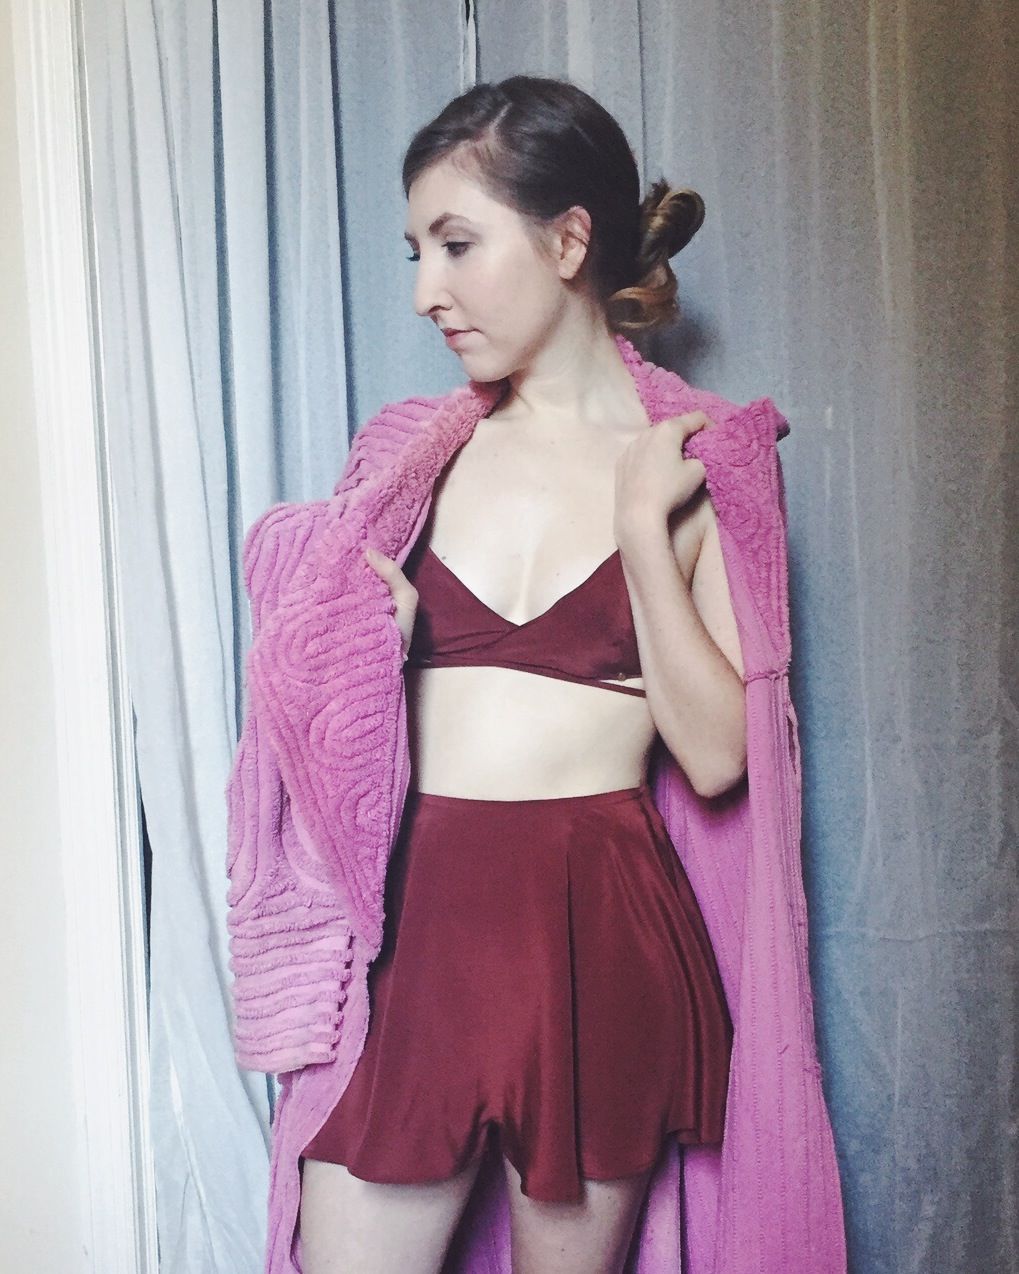
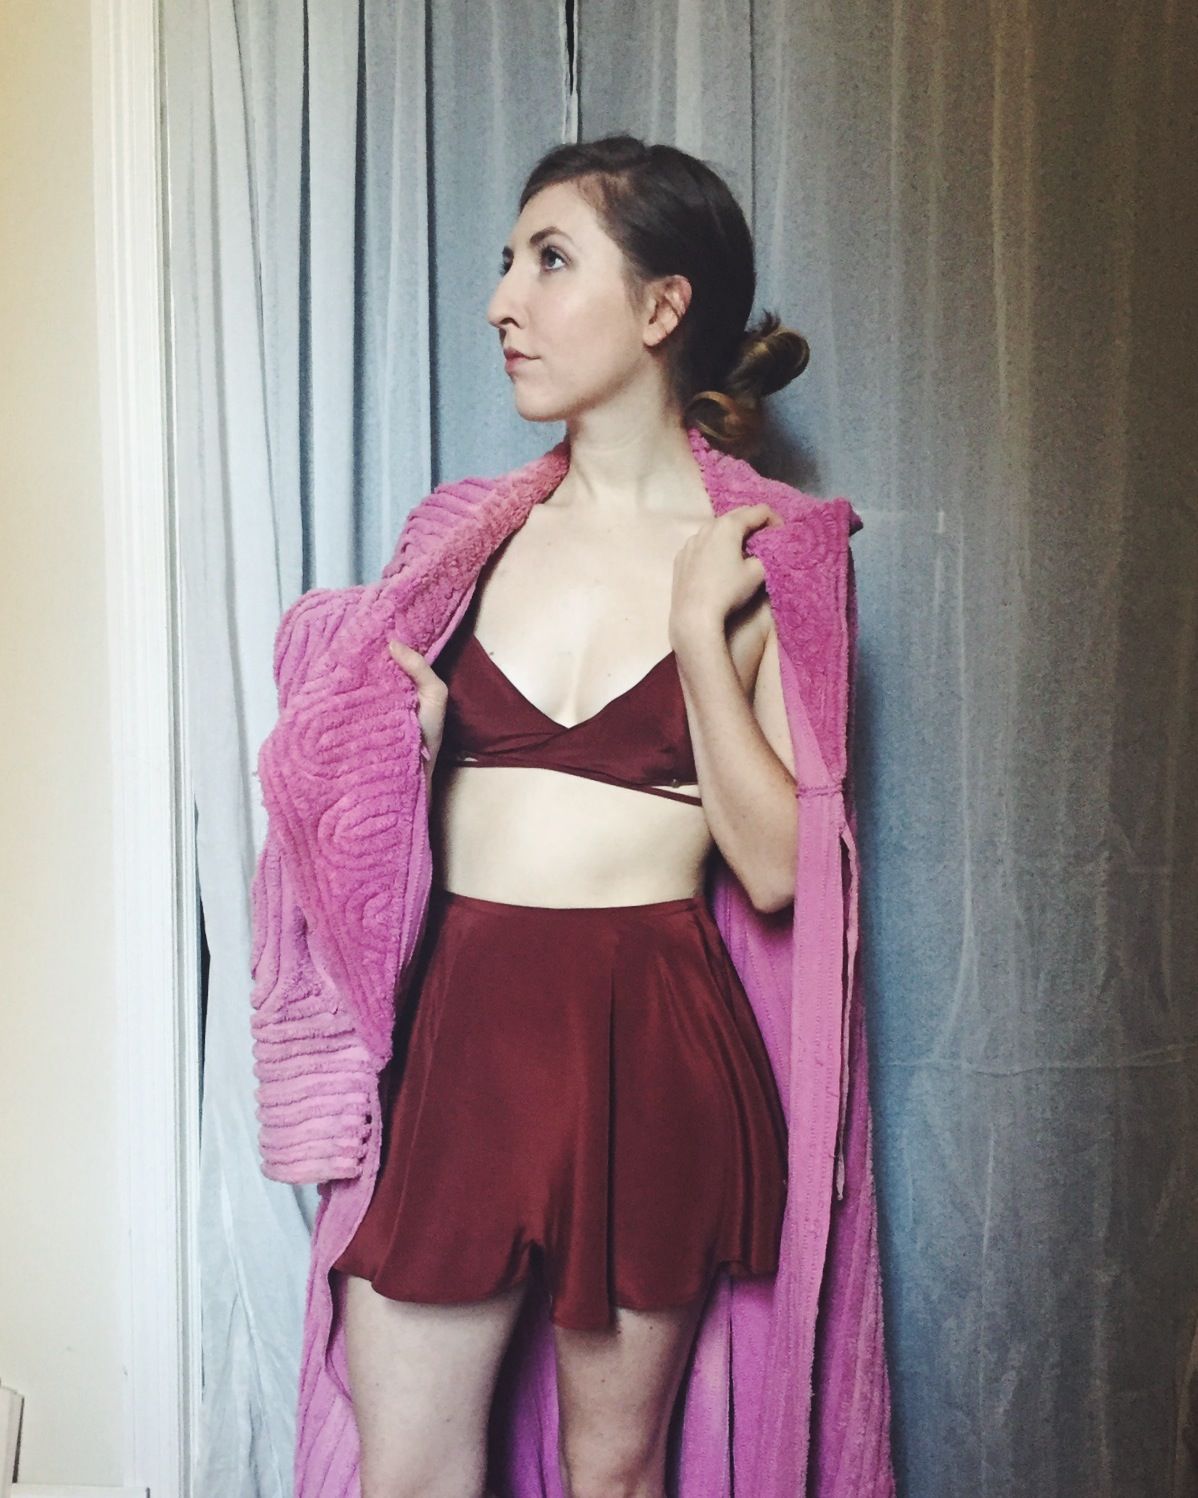
Sophia here! So for the first HSM challenge of the year I decided to tackle Regency underpinnings. So I have always been very inspired by post revolutionary France and the dramatic impact that it had on fashion. I needed these foundations to build on for the War and Peace challenge later this year. I shot the photos on my lovely friend Victoria.
The research:
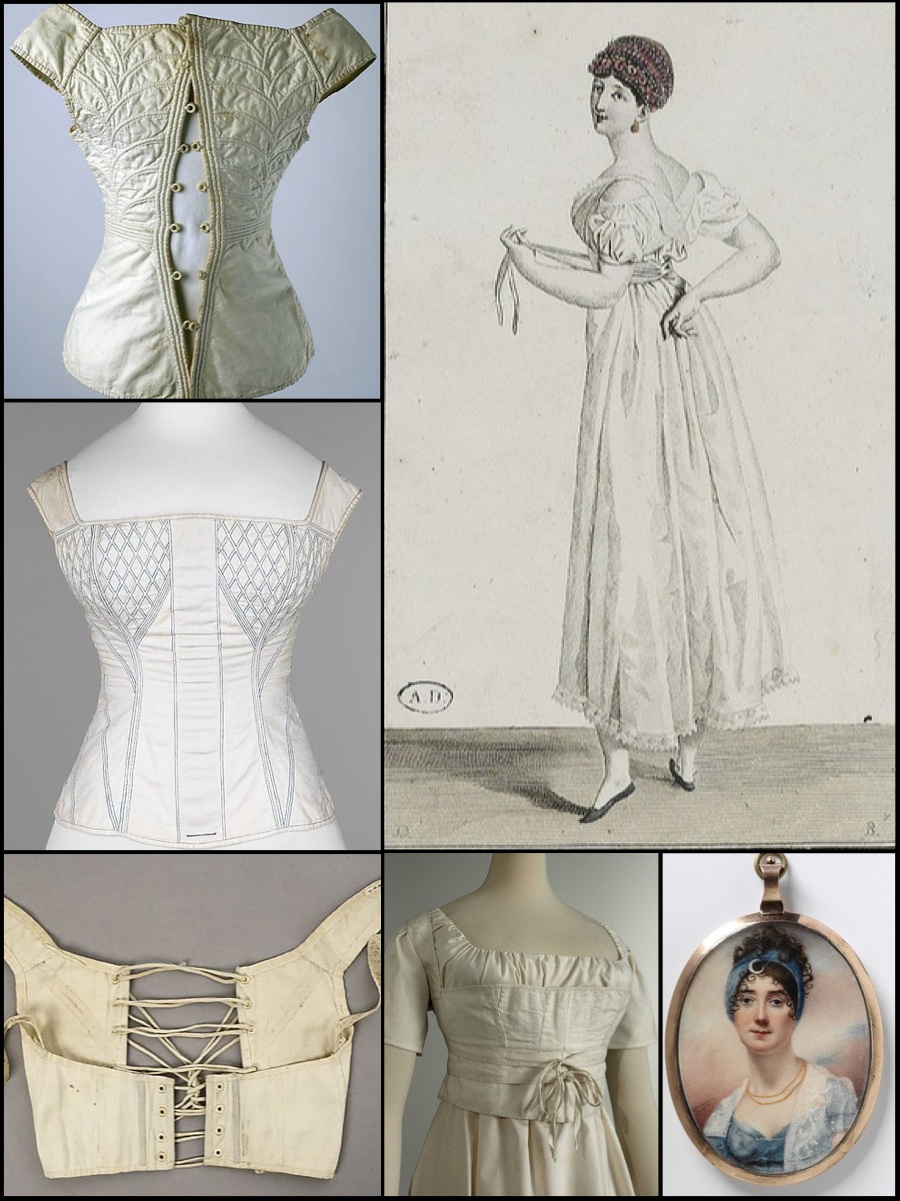
While I was researching I found such a wide variety from this era. It was a major transition from the hard boned stays of the 1700s to the soft corded stays of the early 1800s. I tried to keep these short stays historically plausible but I also wanted them to fit my body type and have decorative corded elements. I would like to change the stays to fan lacing when I can figure it out. (tips anyone?)
The Process:
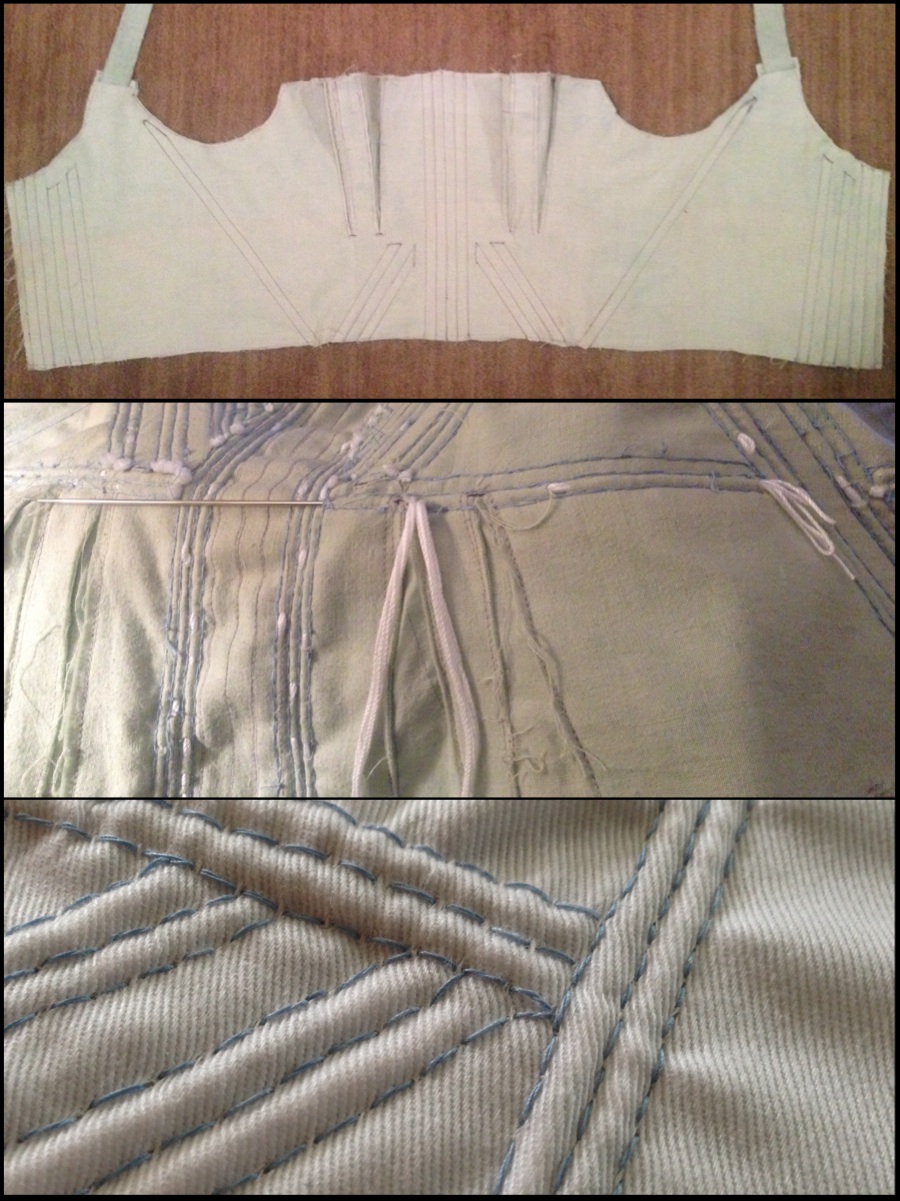
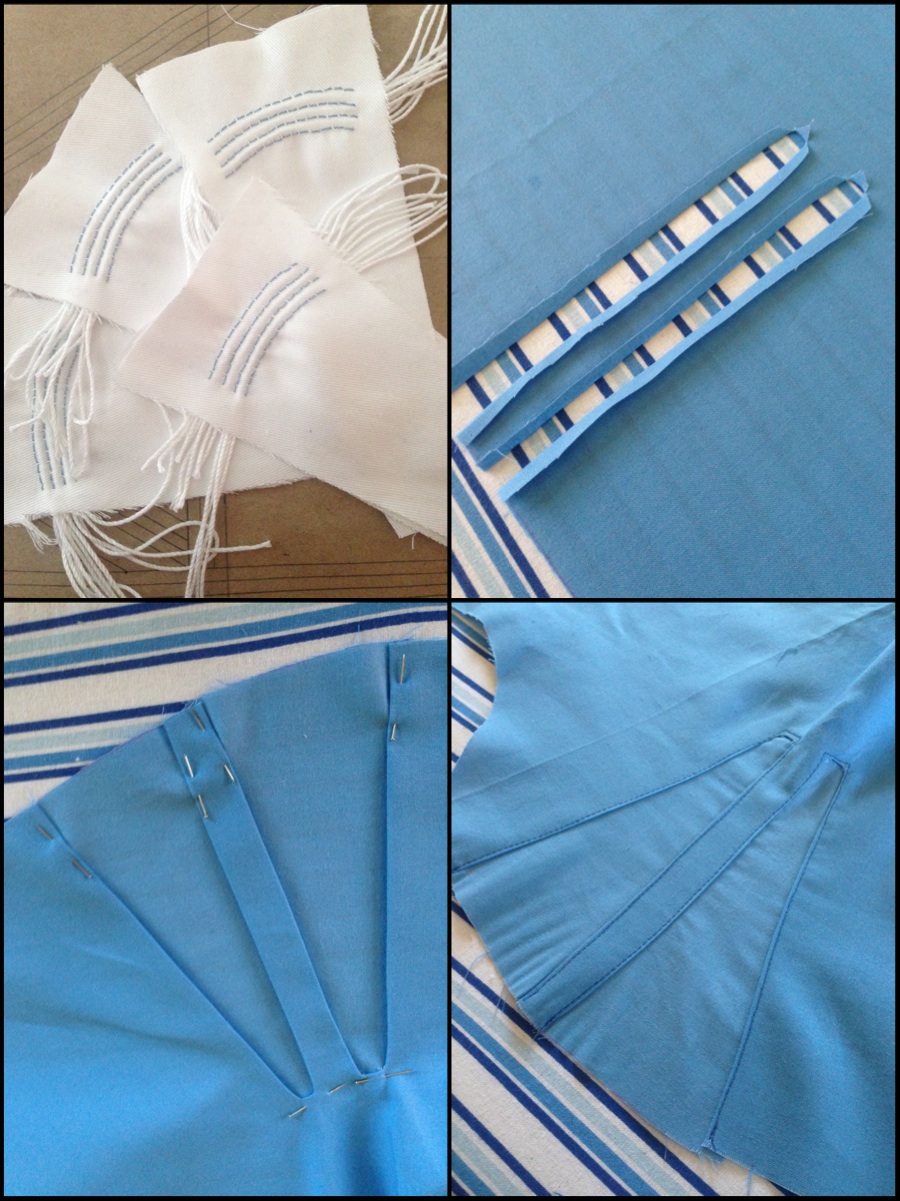
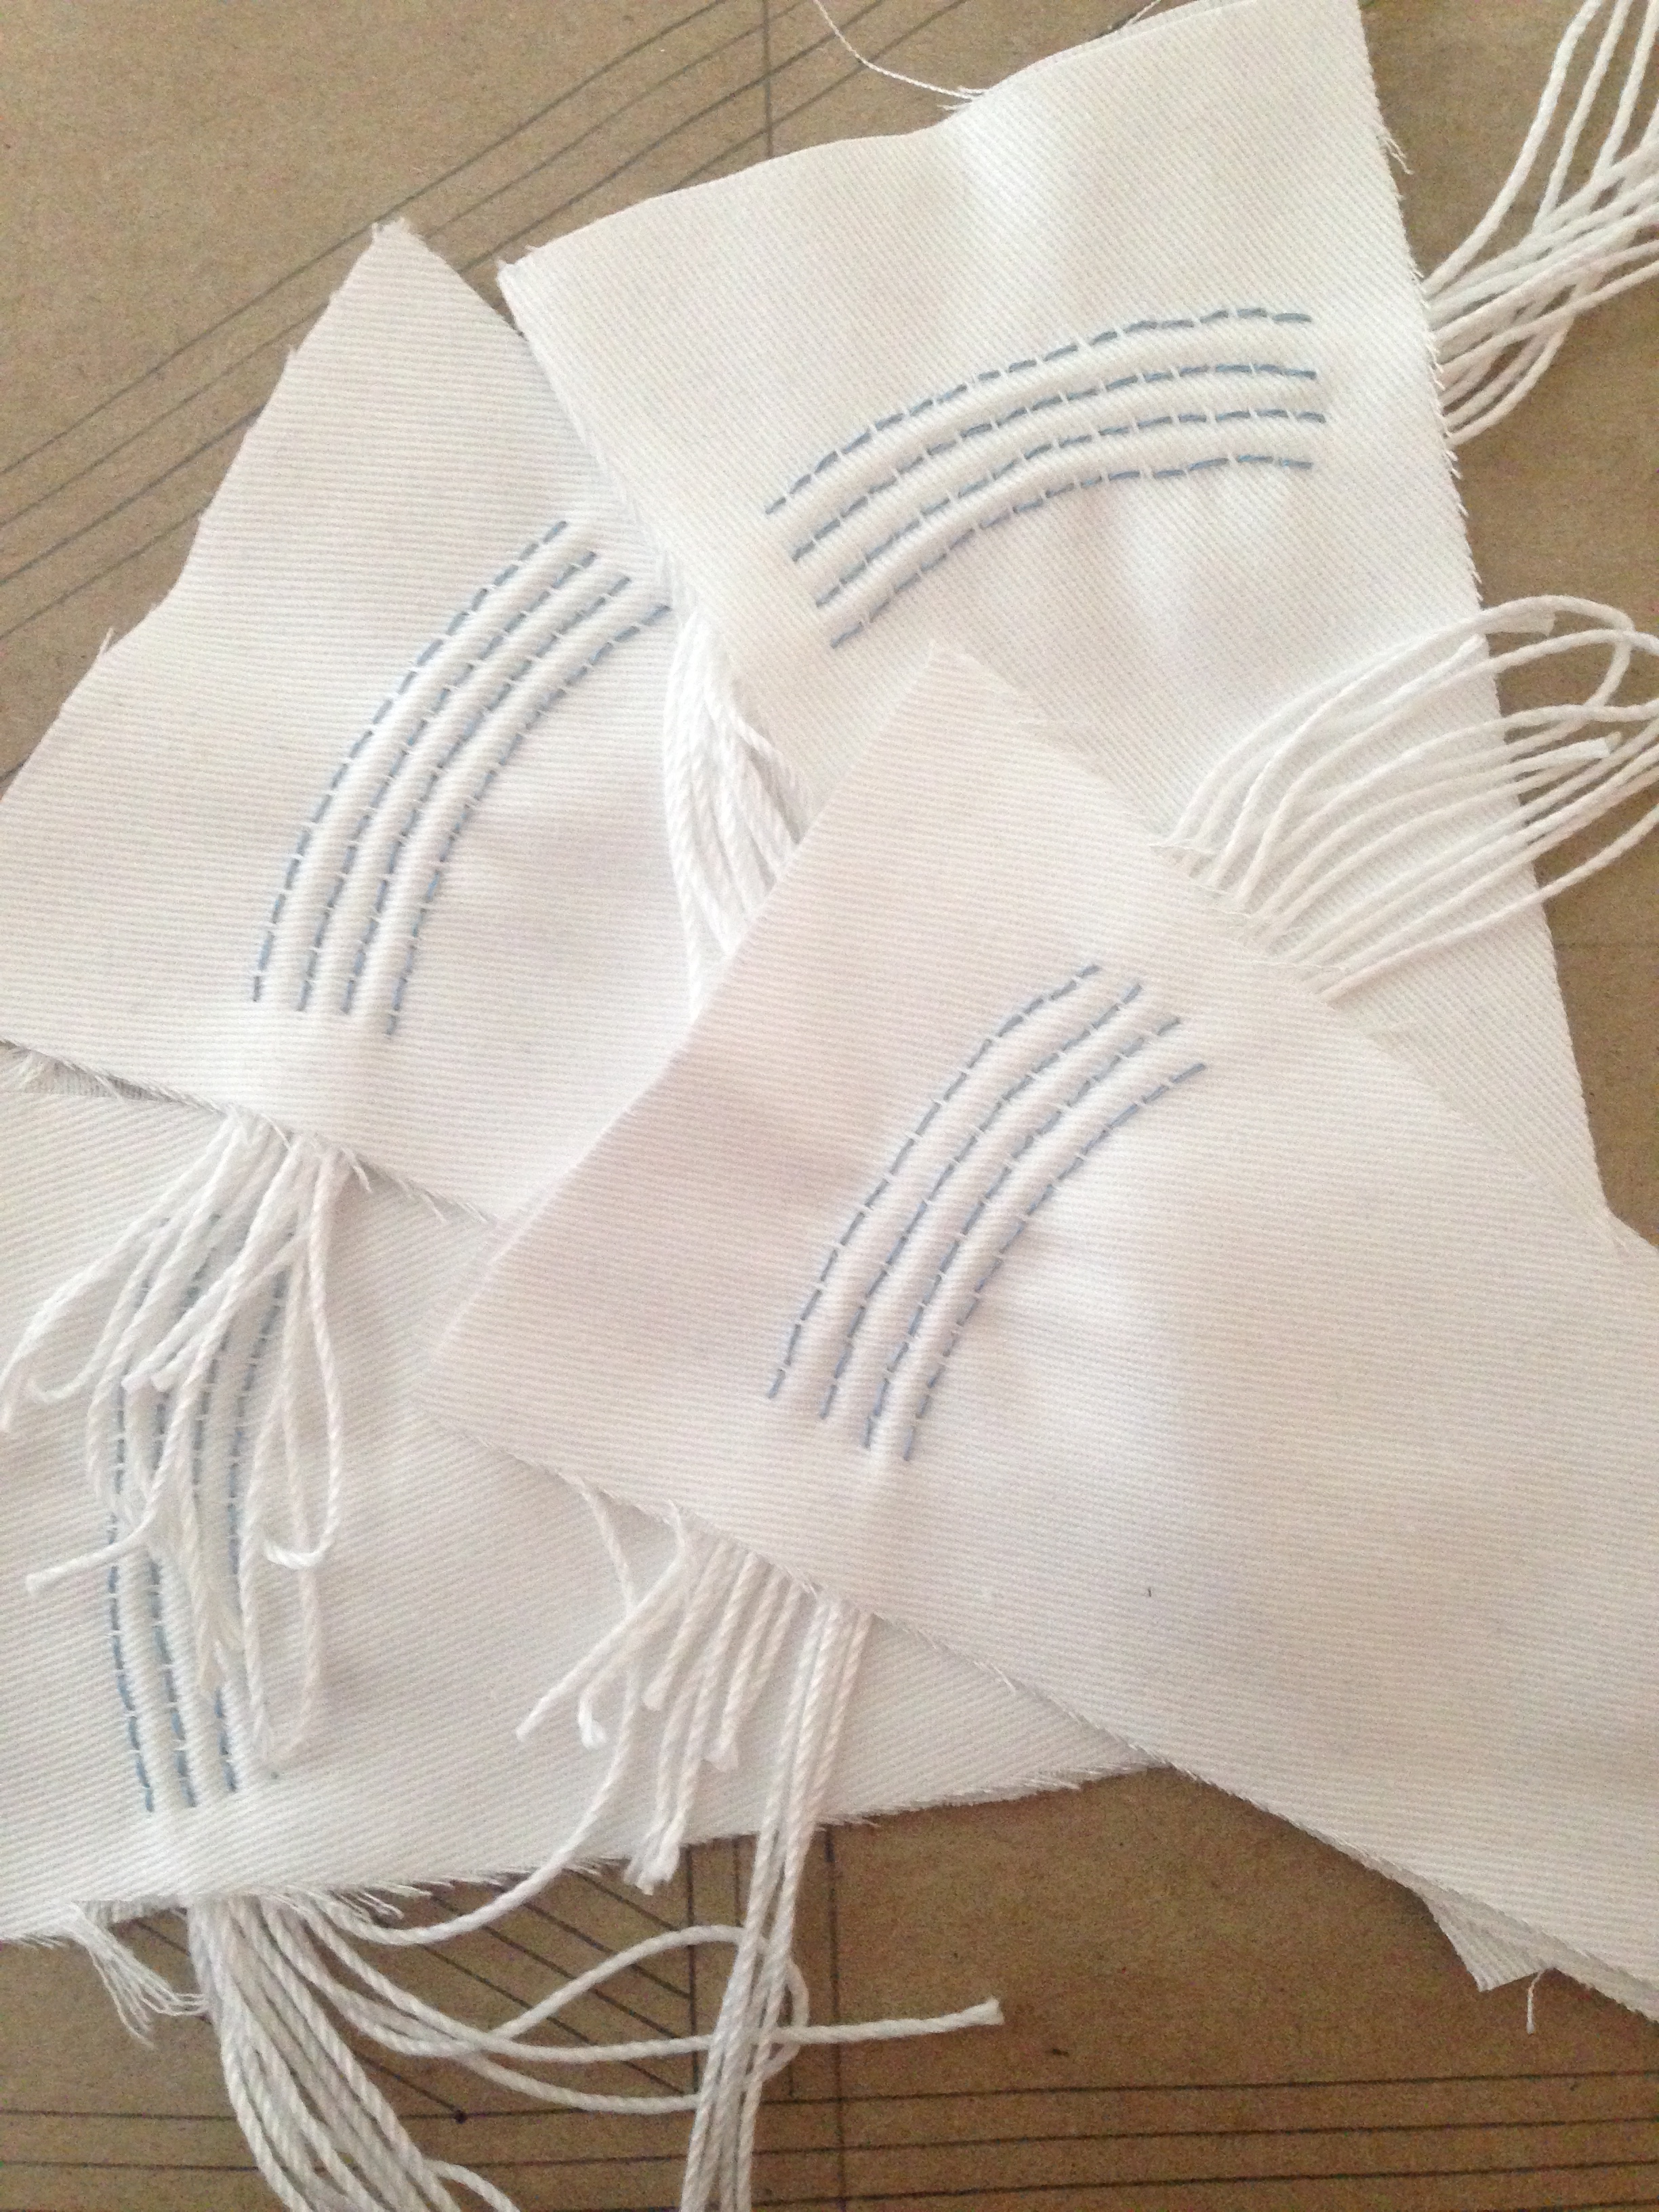
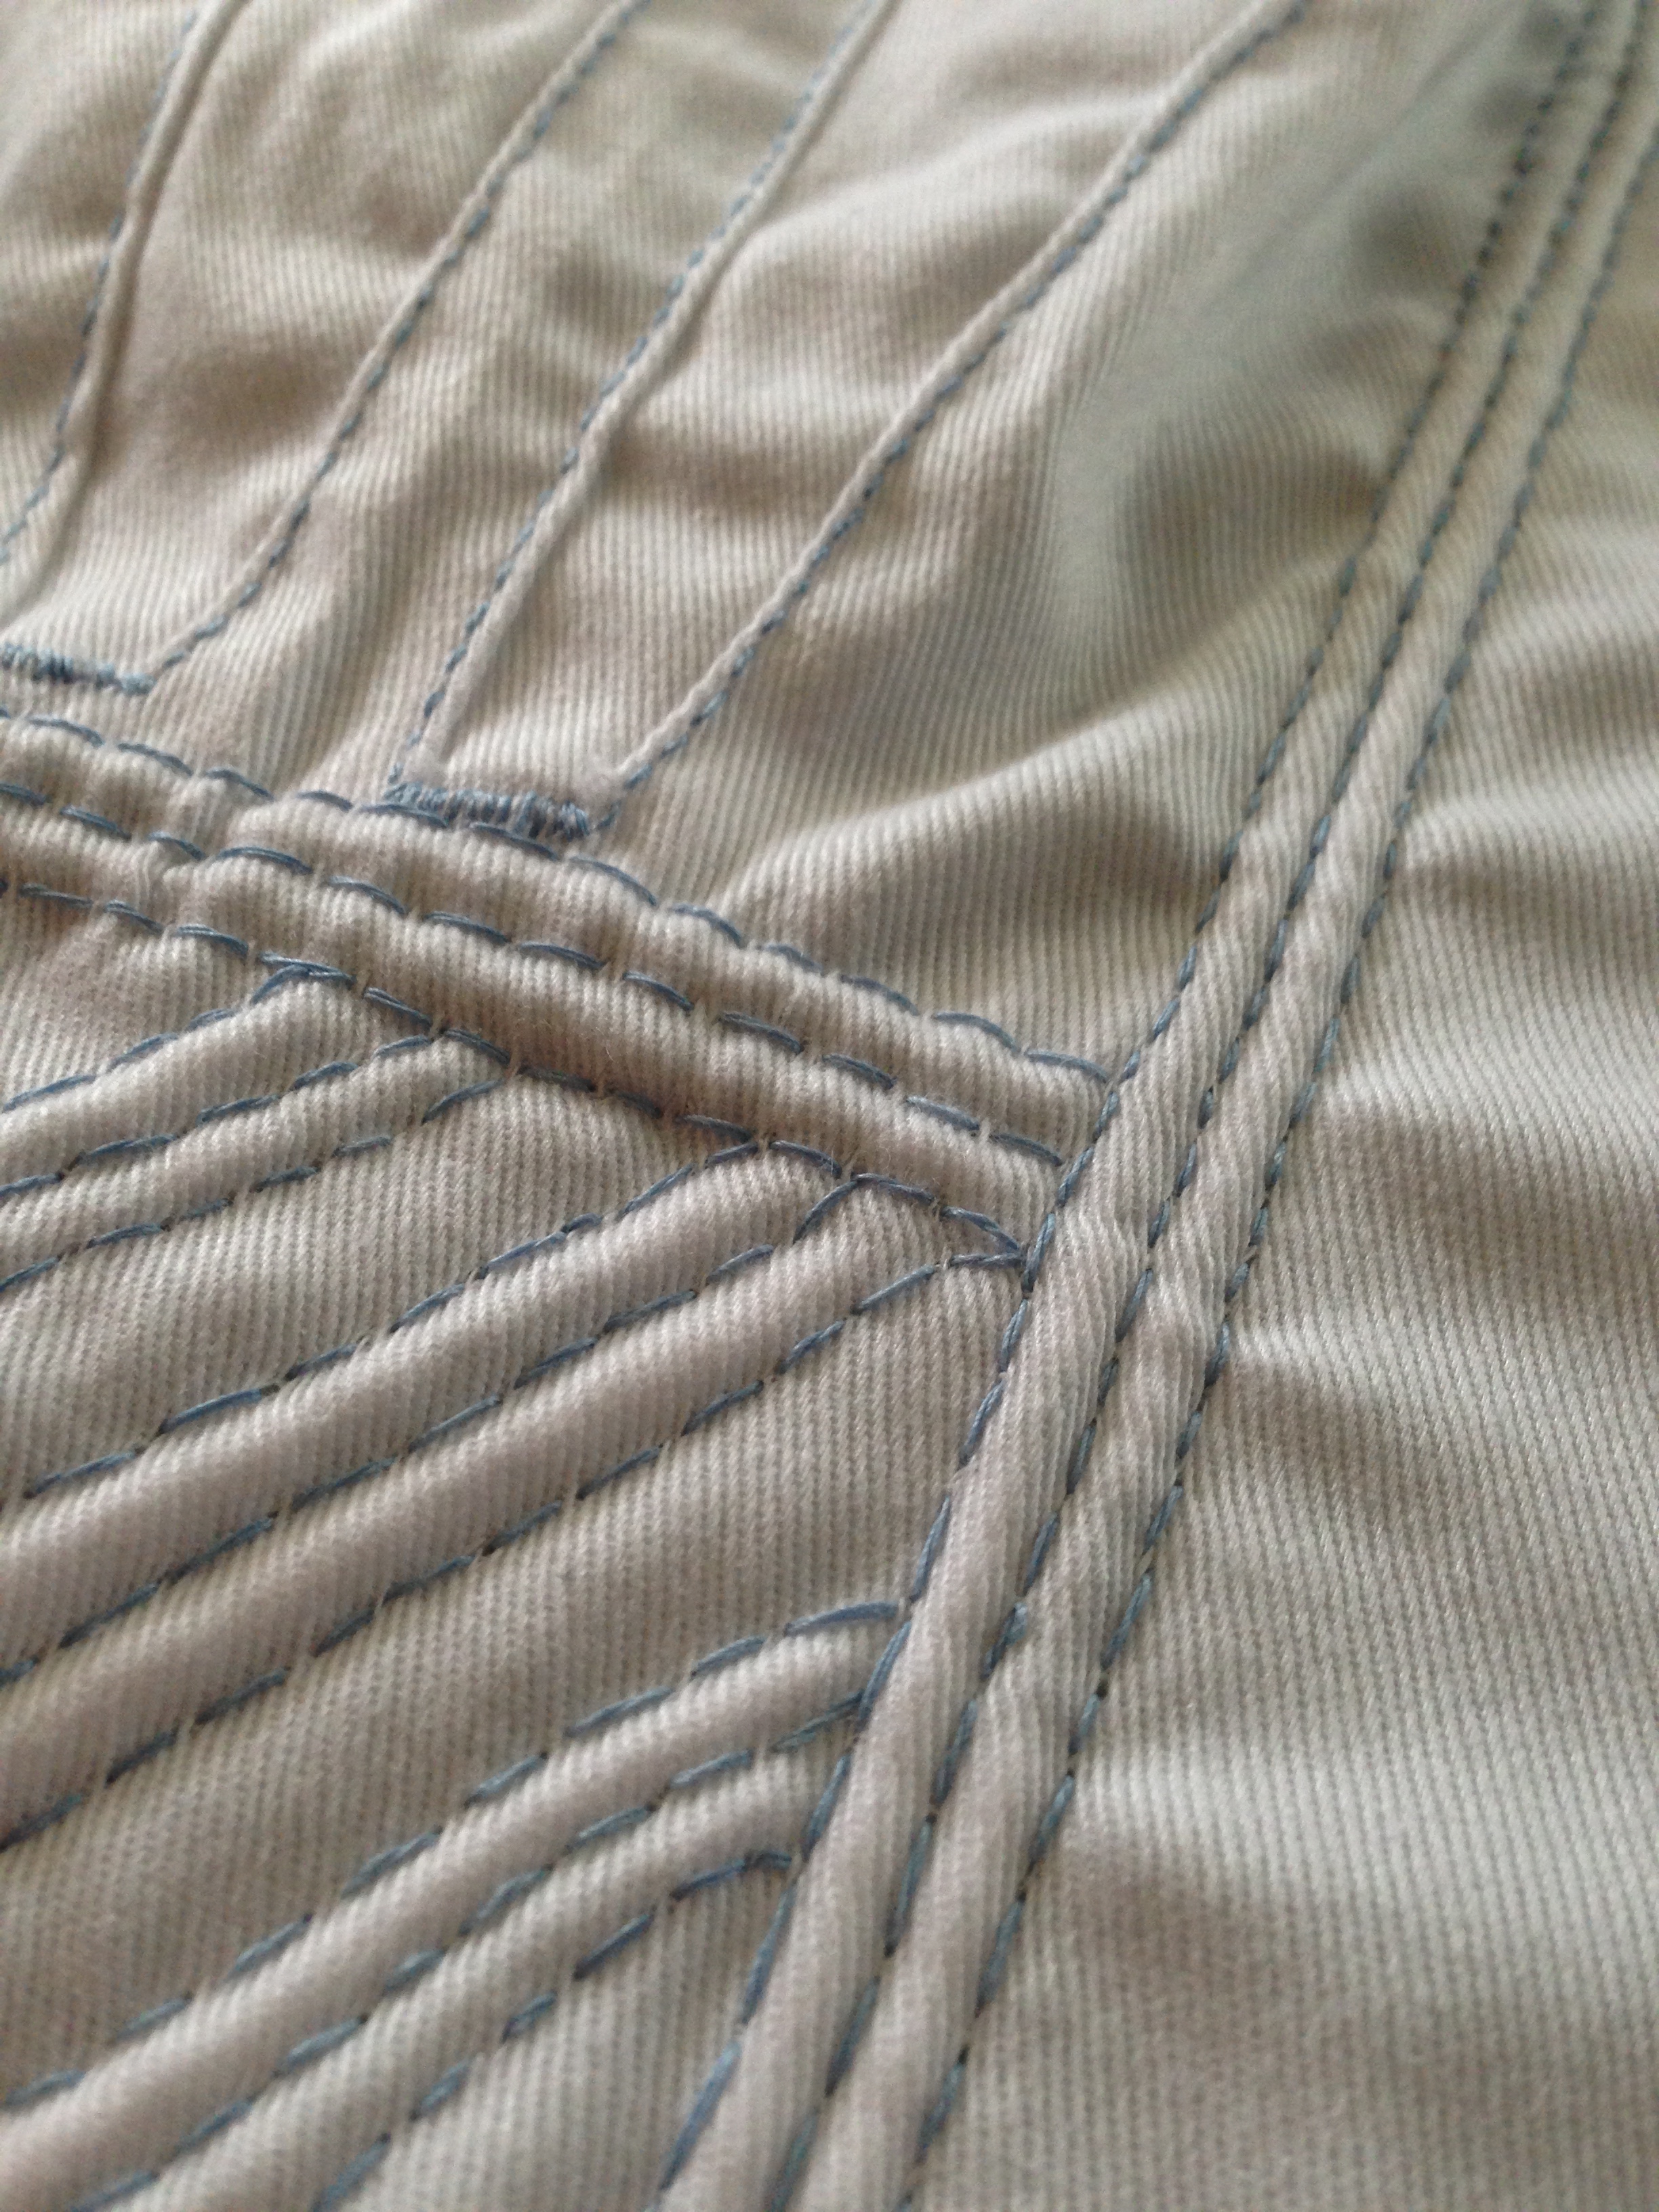
To start with I made an inner layer out of a light weight cotton it hold the plastic bones in place to be corded around. Then I stitched it to the upper layer starting from the center and working my way outwards. To cord I used 3 strands of light weight cotton yarn used for crocheting.
The gussets in the lining are machine stitched a big no no considering I hand stitched the rest.
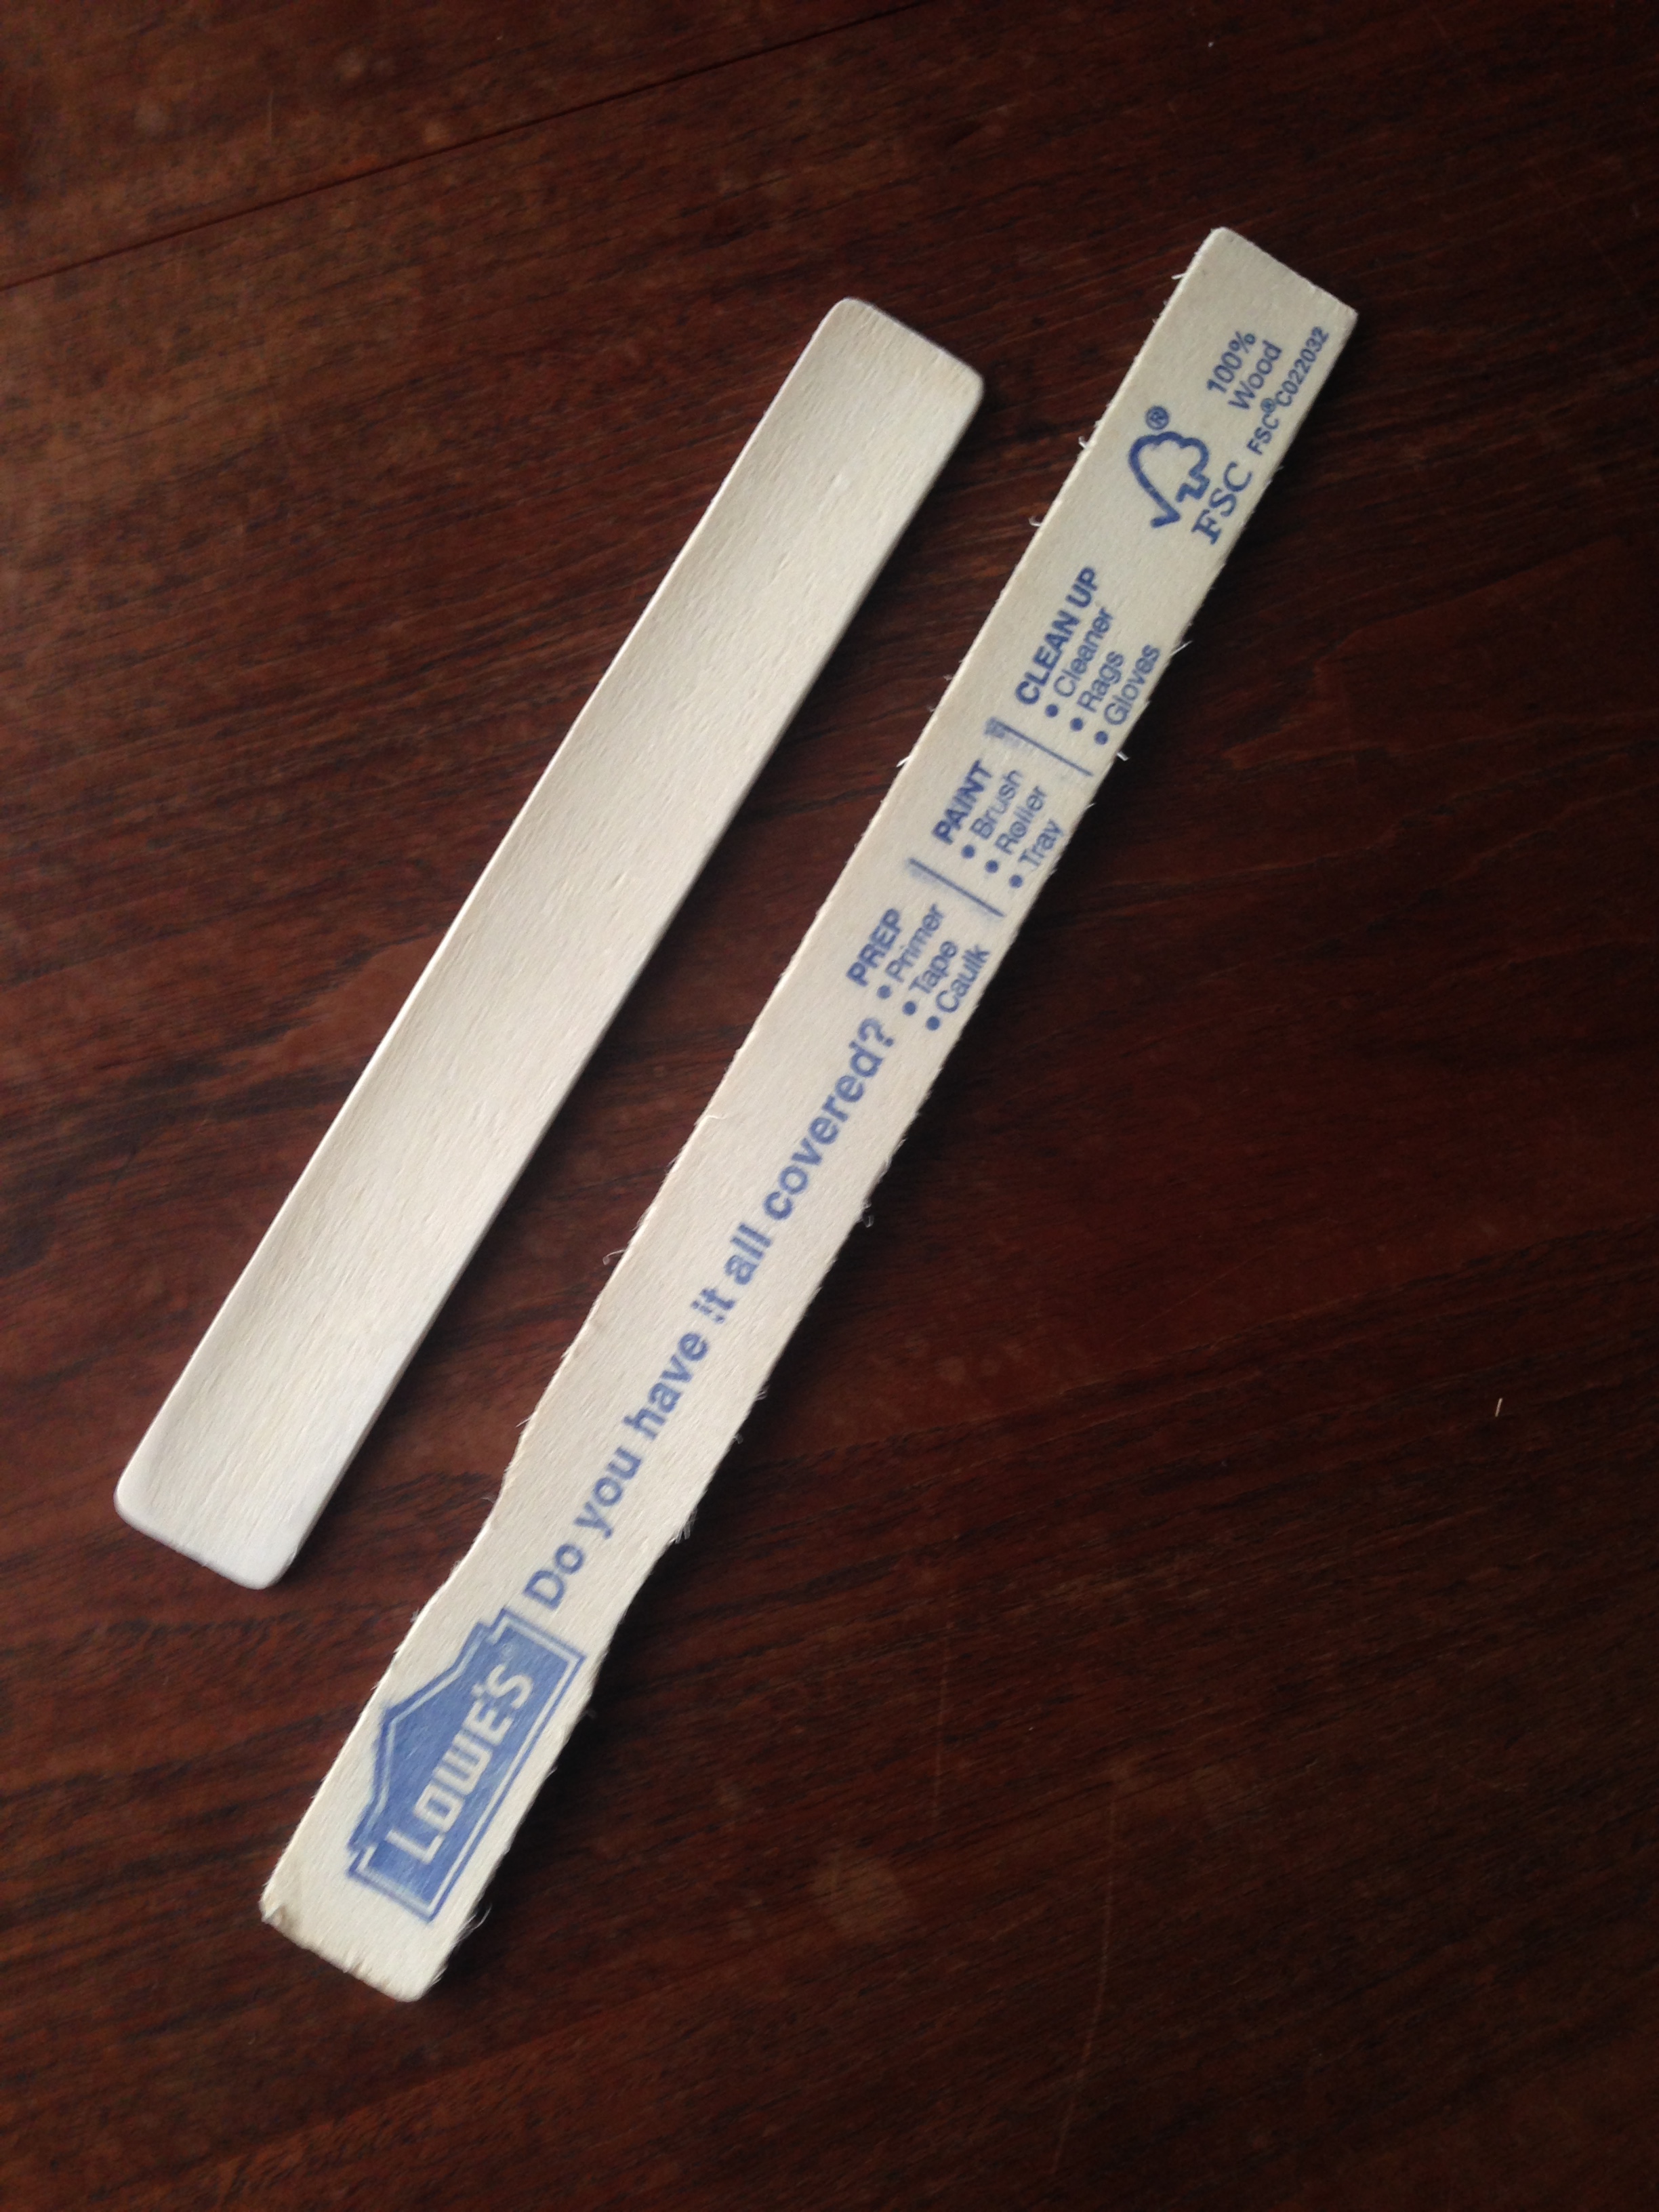
I made the busk out of a paint stir stick.

The eyelets were stitched over metal washers to insure security.
The Results:
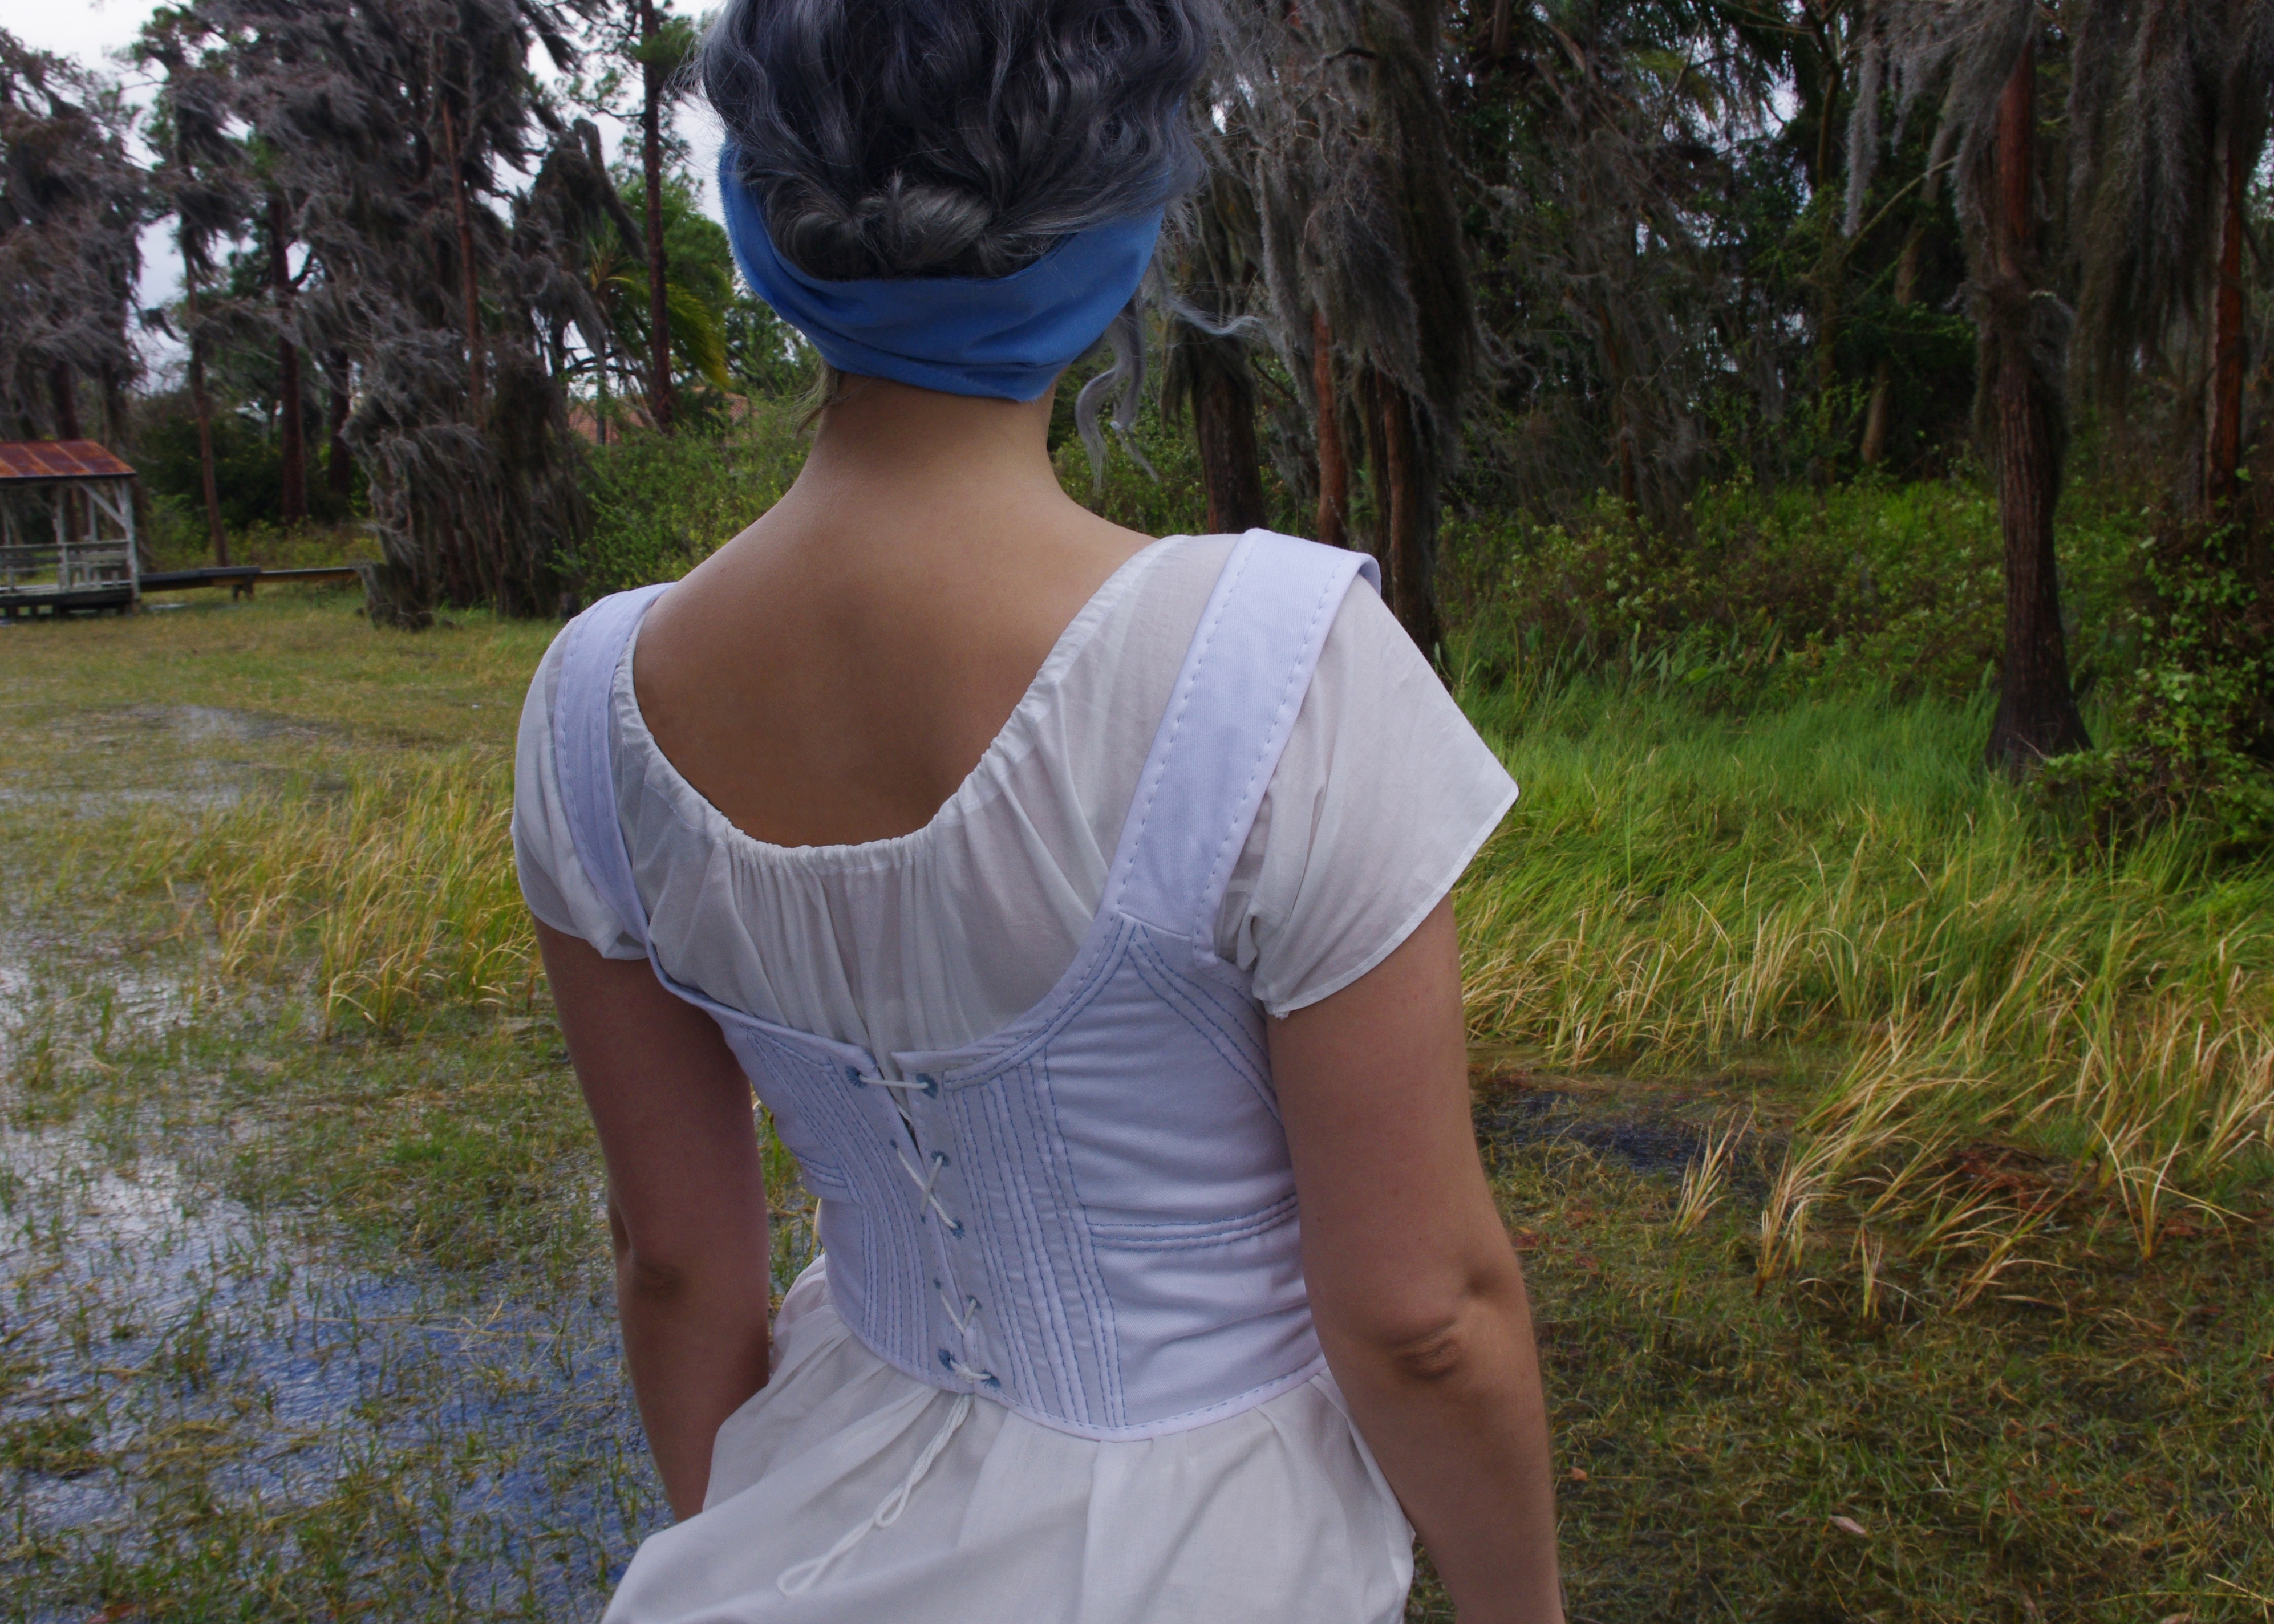
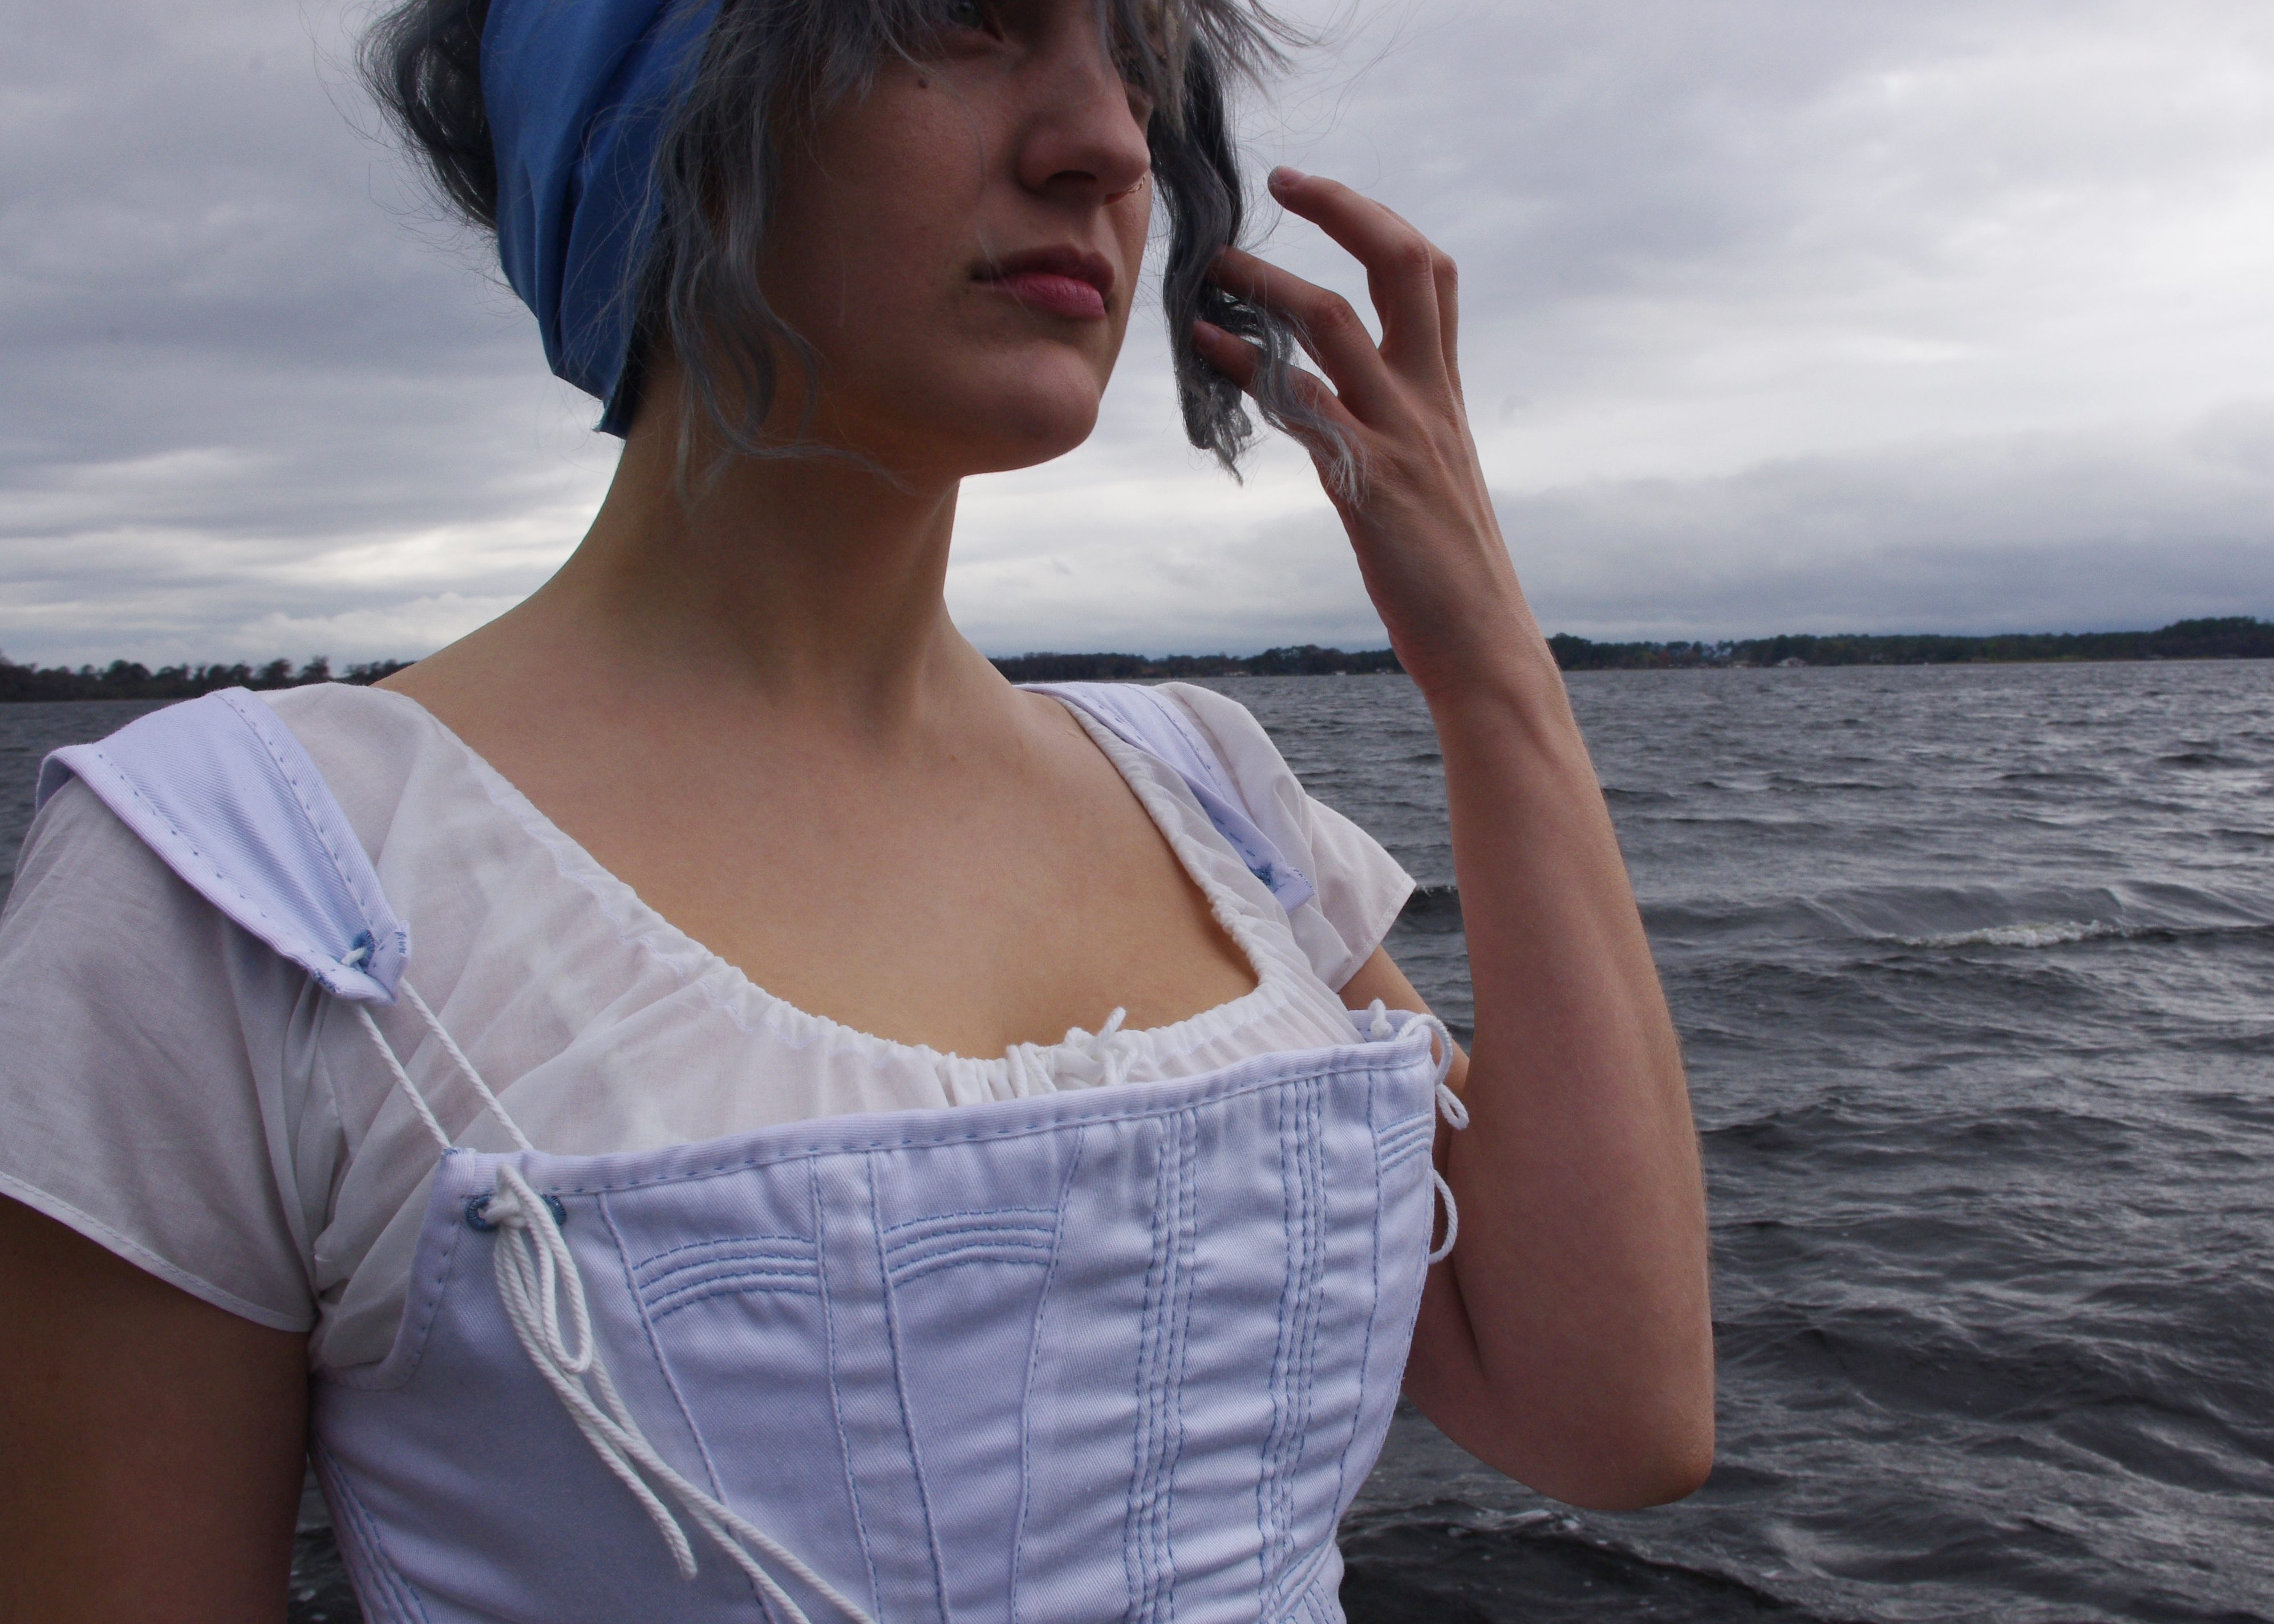
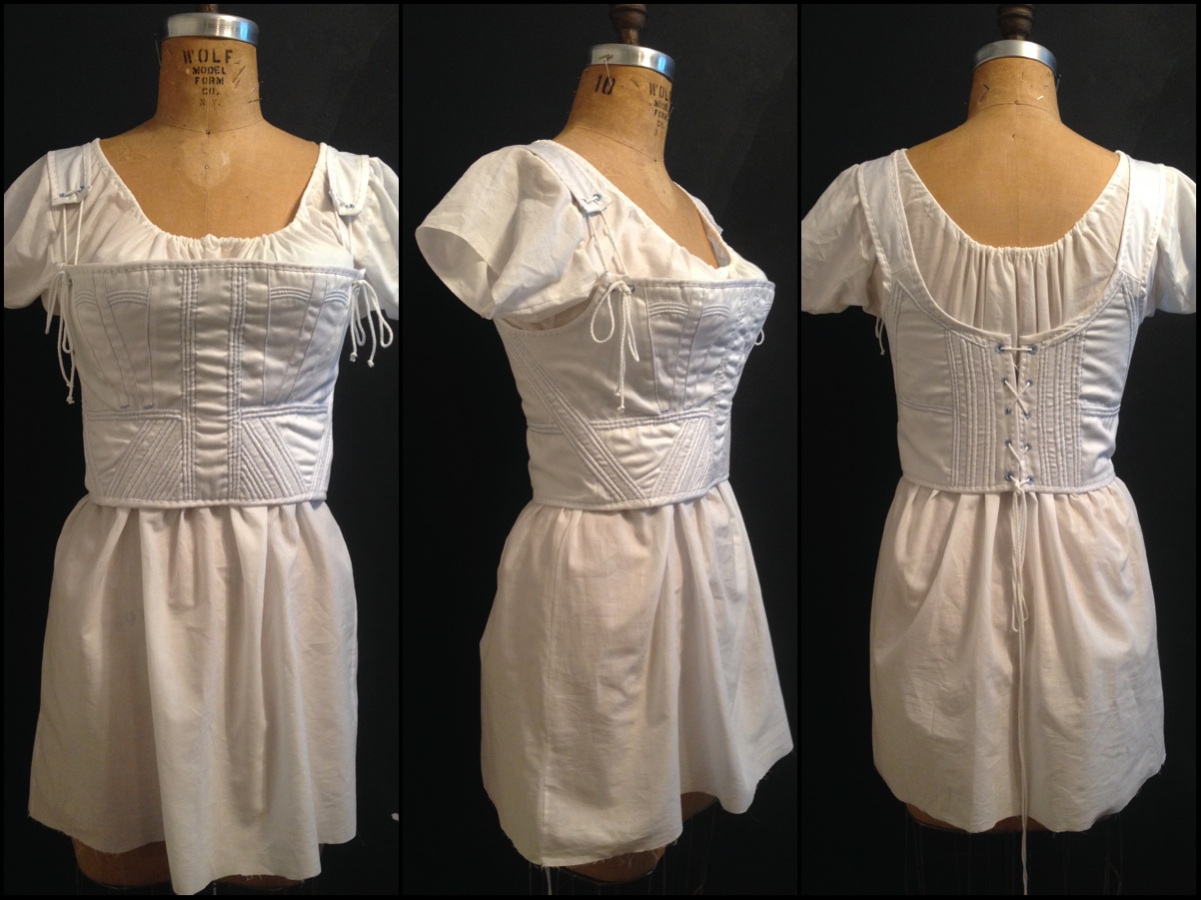
The Details
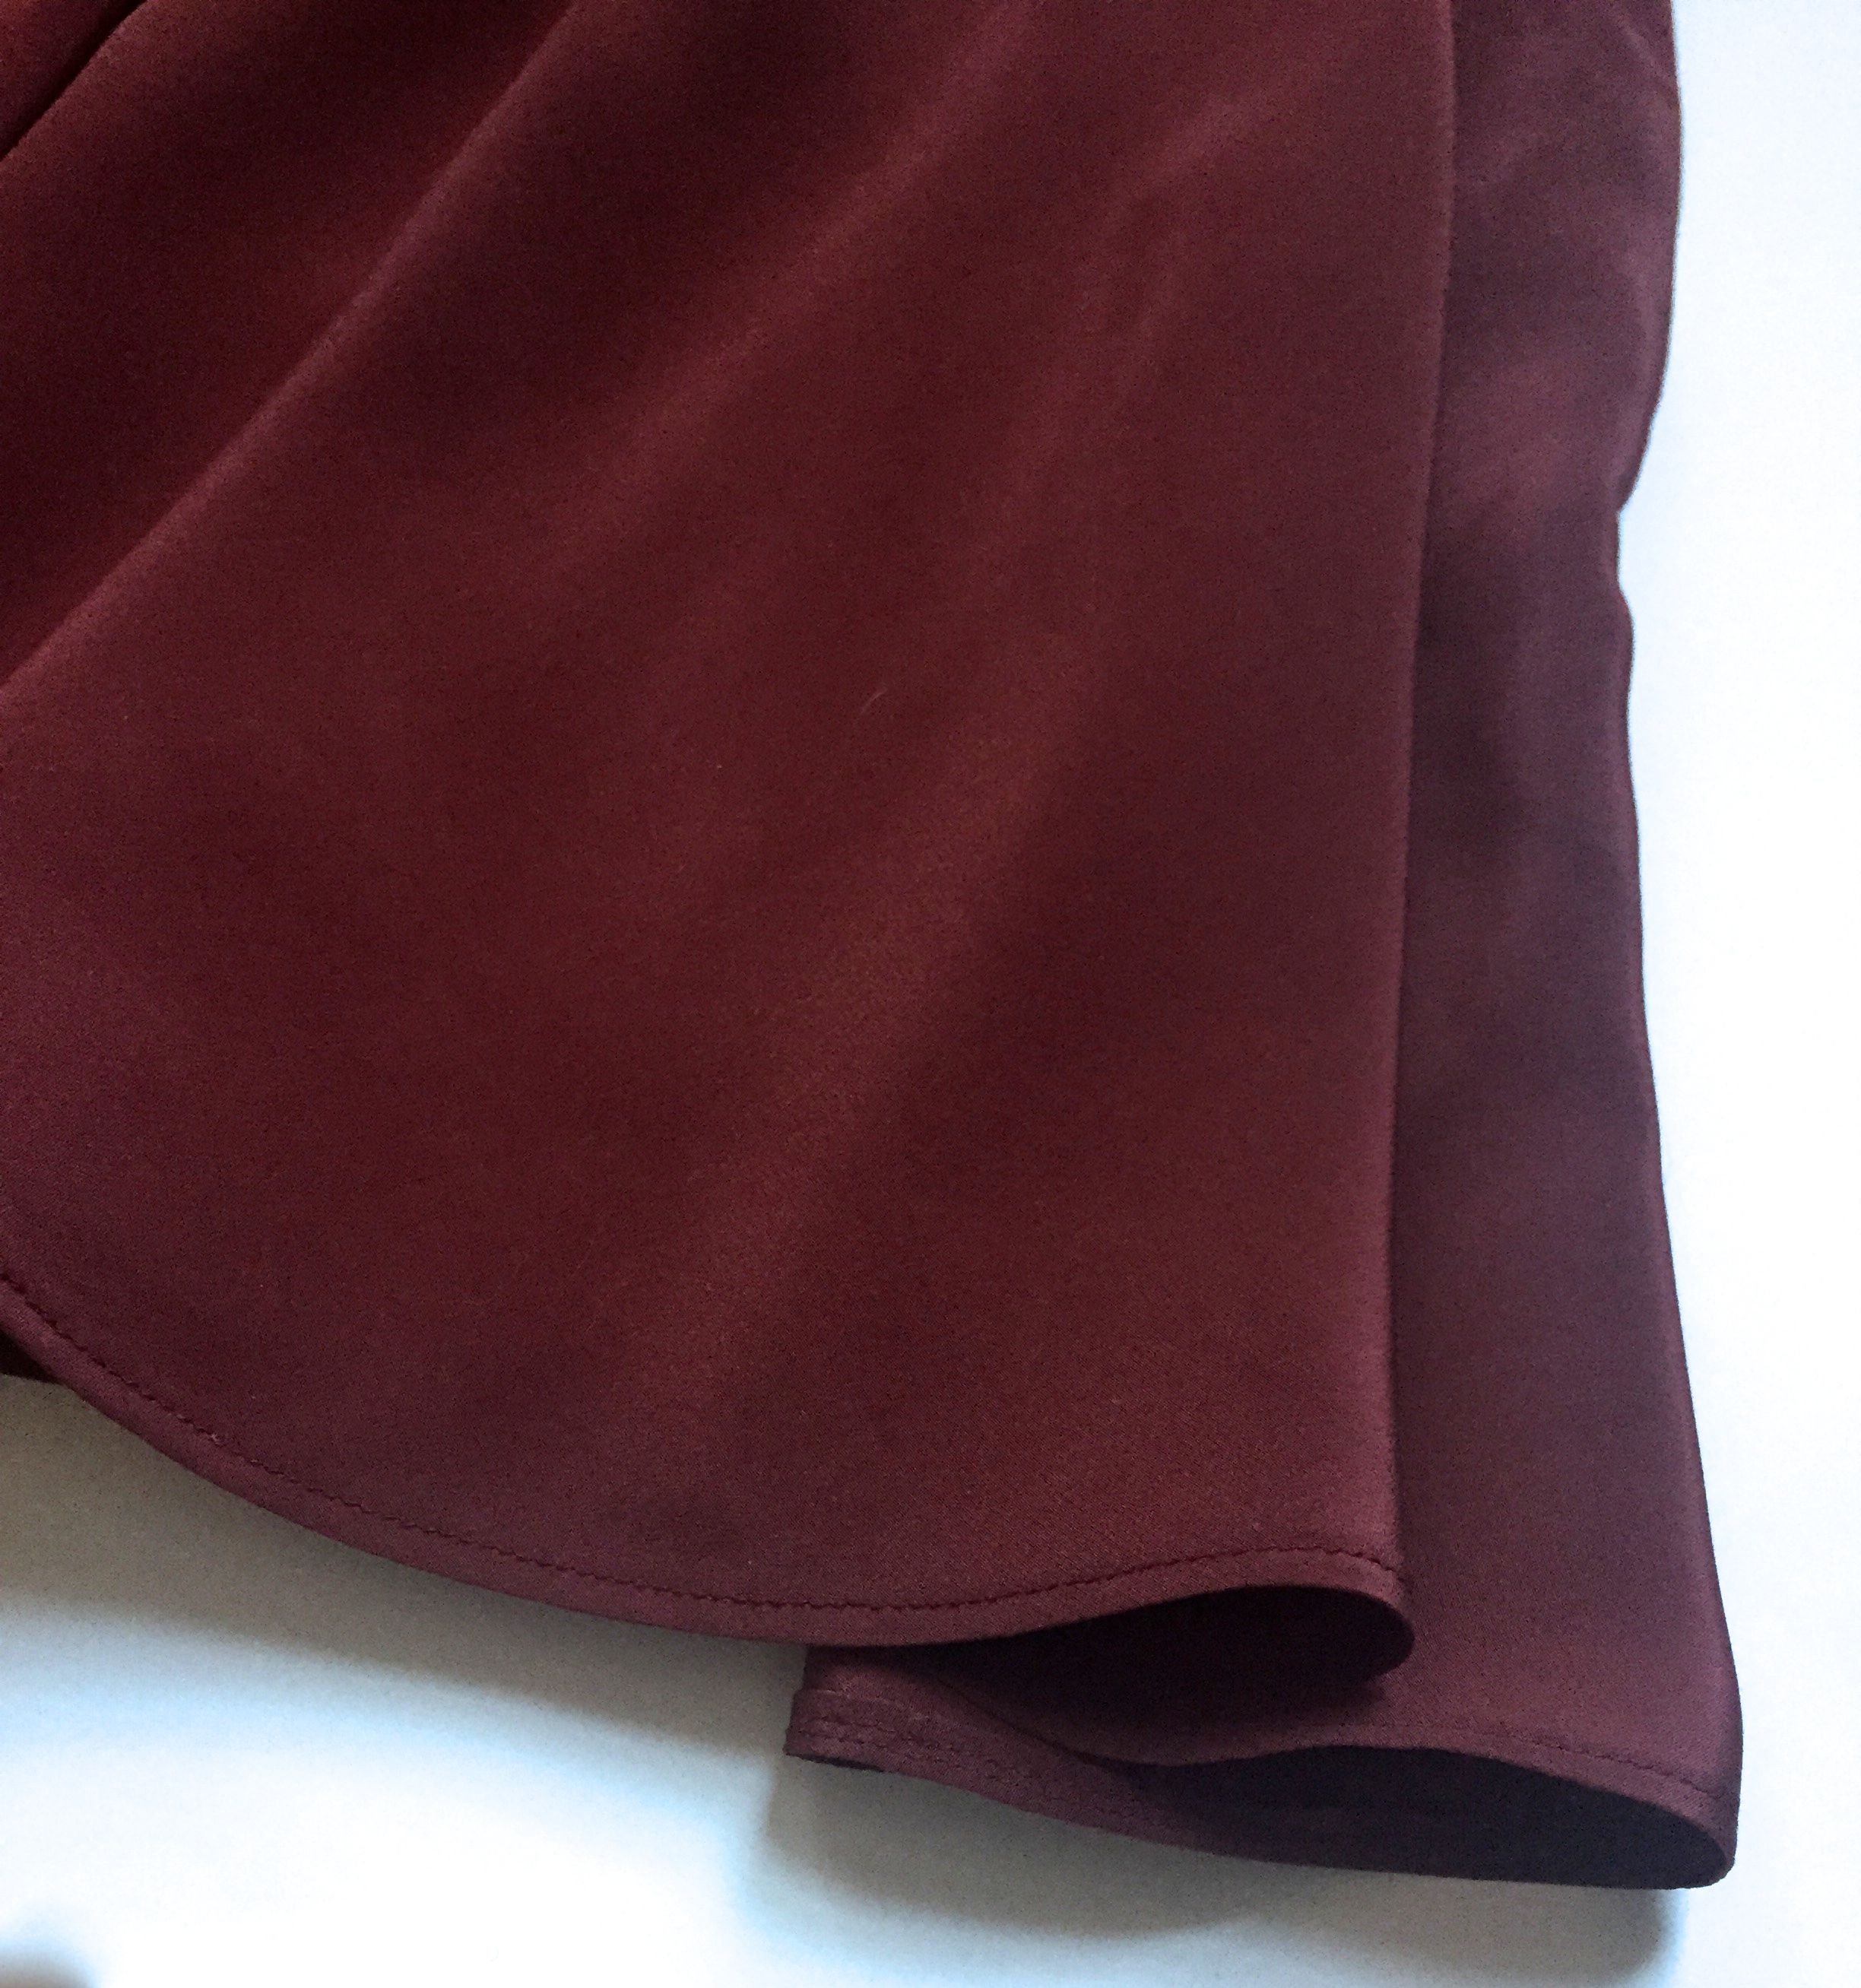
Fabric: Stays: 100% cotton jean outside, 100% cotton broadcloth lining, 100% cotton interlining Chamise: 100% cotton bleached muslin
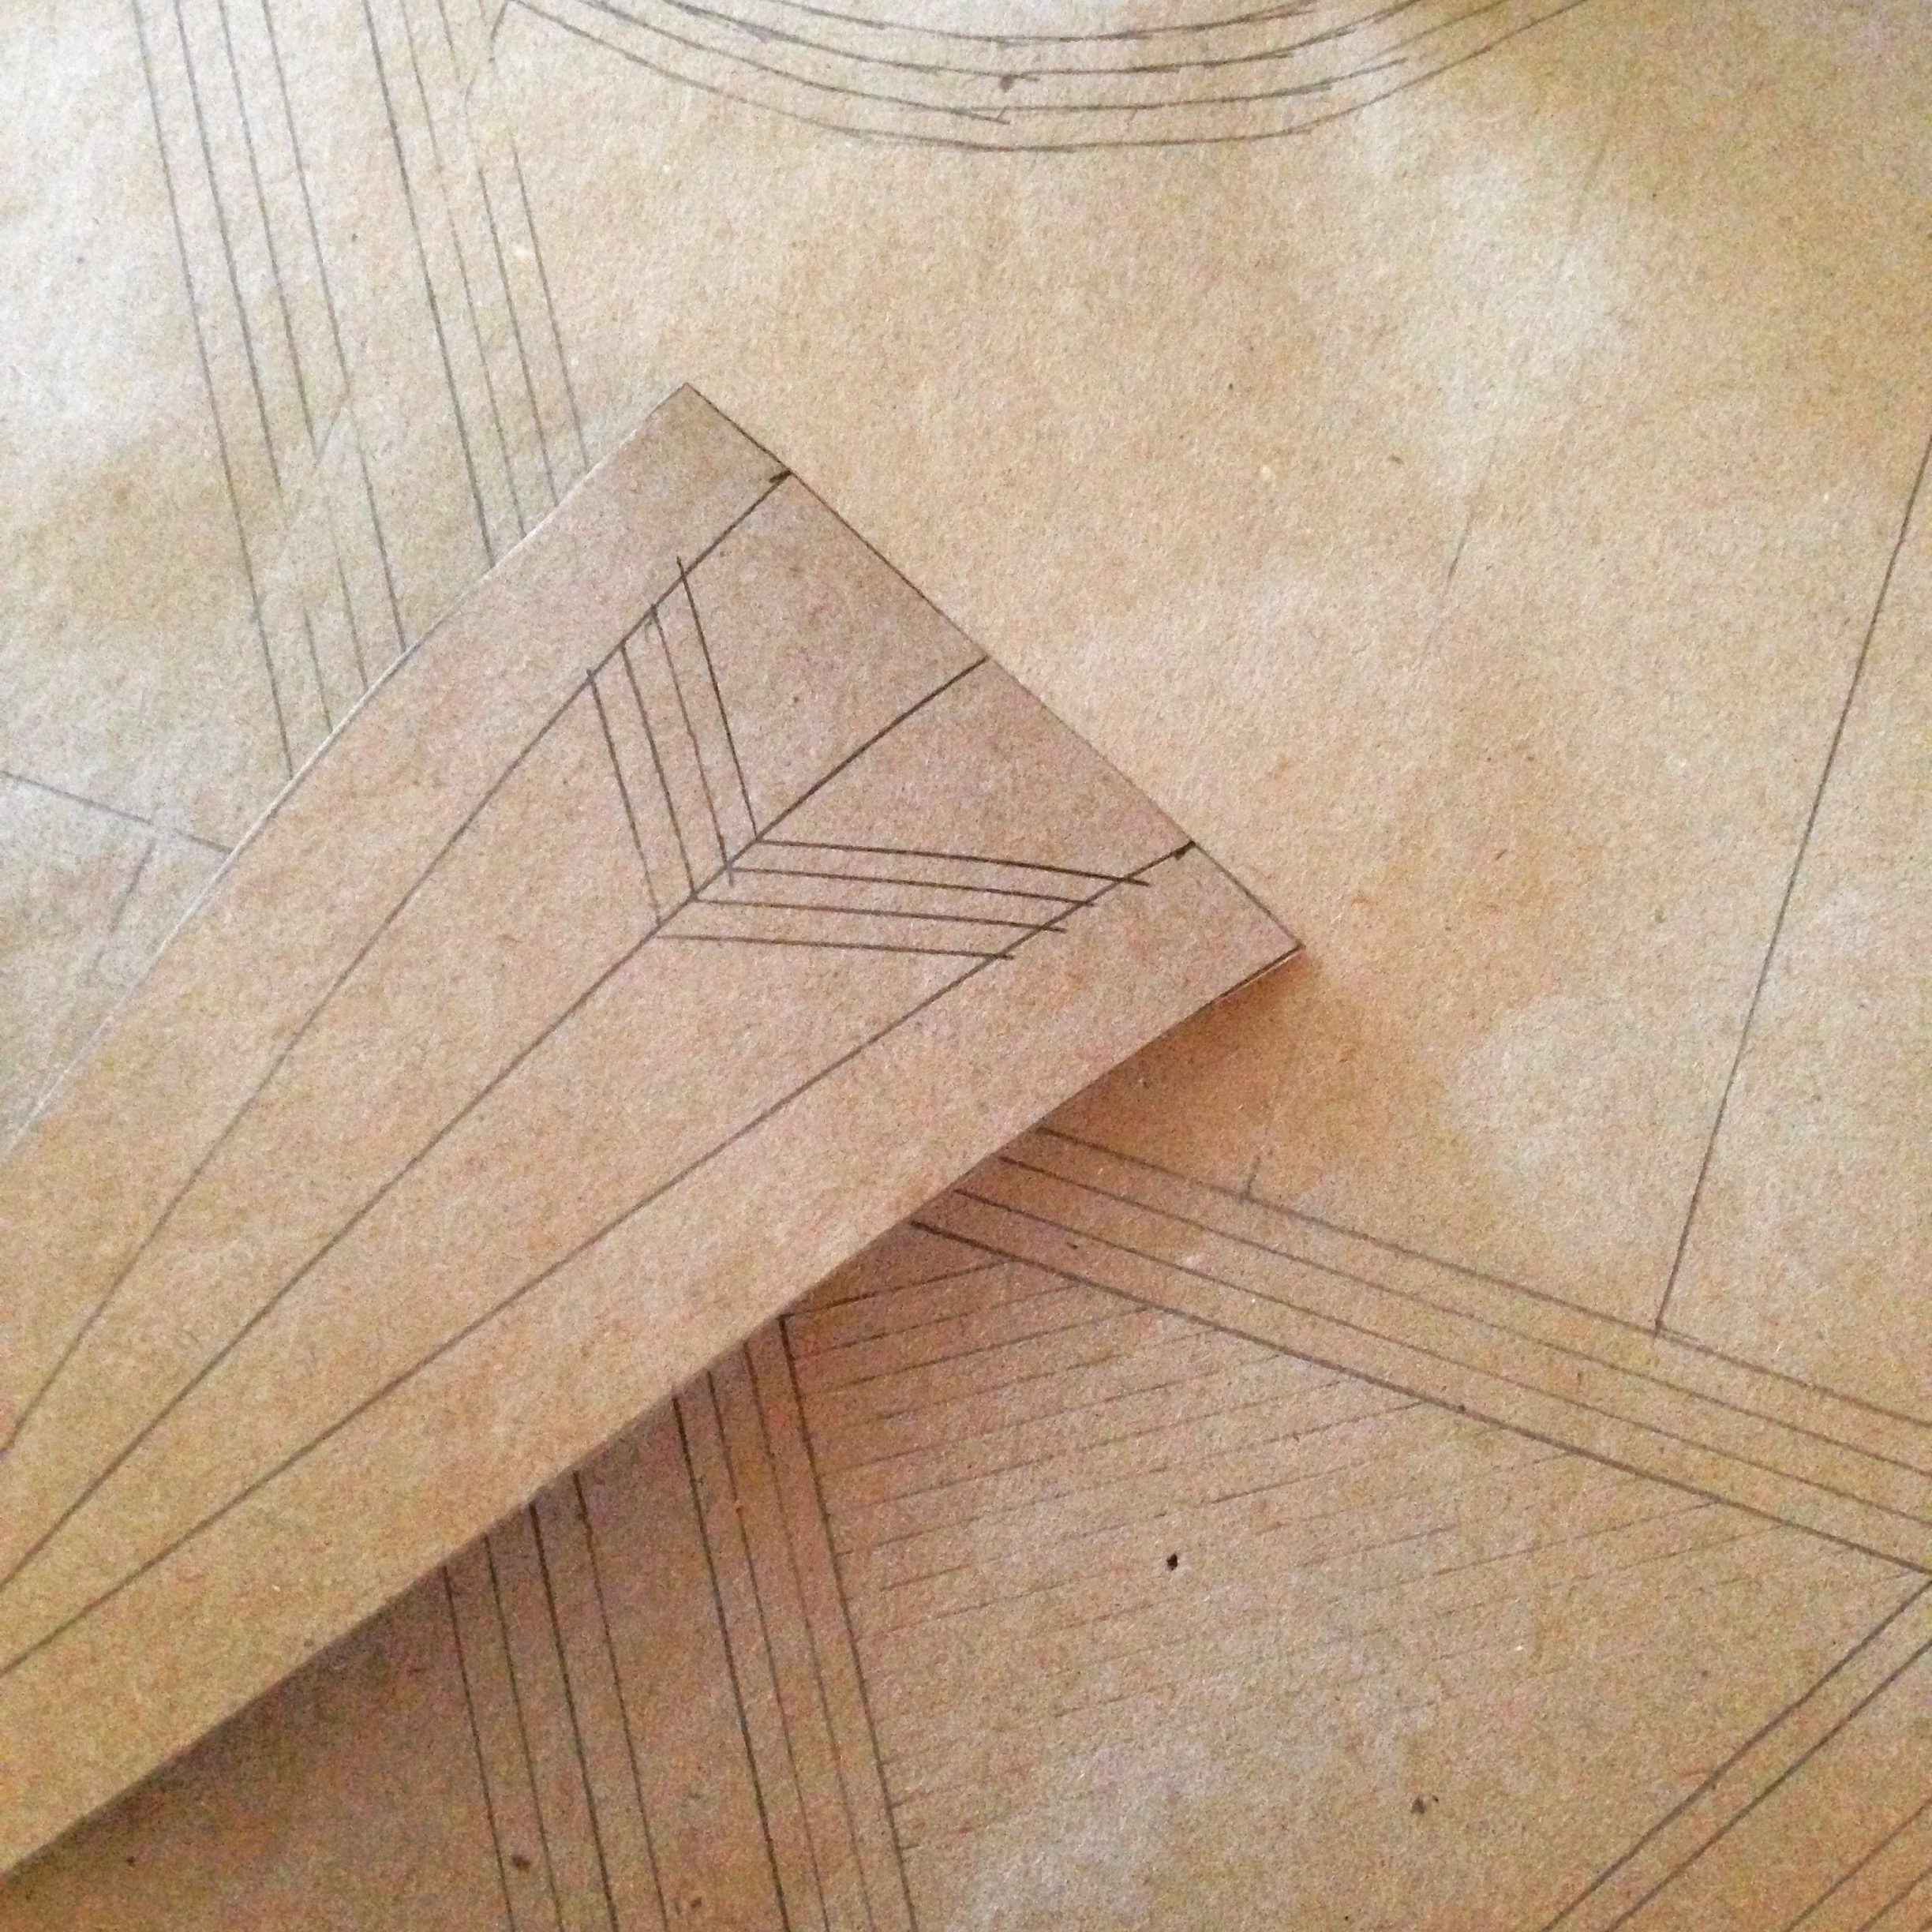
Pattern: Both pieces were self drafted.
Year: 1800-1815
Notions: Both pieces were sewn with cotton thread and have cotton draw strings. The stays are corded with cotton cording and have a small amount of plastic boning. The busk was made from a wooden paint stirrer stick. I did use metal washers to reenforce the eyelets.
How historically accurate is it? Stays: 90% all visible stitching is hand done. The design is a combination of several examples from the Met. The metal washers and plastic boning take it down a few points. Chamise: 60% they are machine sewn and too short I want to lengthen them with another panel. The pattern is correct.
Hours to complete: Stays: So many that it makes my head spin. Chamise: One afternoon.
First worn: To shoot photos on my model. I’ll probably wear them for the war and peace challenge.
Total cost:Under 50$ some notions were stash and the yardage was under 10$ yrd.

